- What are some easy DIY Halloween decorations for beginners?
Start with paper bats, painted pumpkins, glass jar lanterns, Halloween garlands, and simple door signs. These projects require basic materials and don't demand advanced crafting skills. You can also customize the colors and designs to match your existing home decor.
- How can I make DIY Halloween decorations look expensive?
Focus on cohesive colors, natural materials, good spacing, and simple designs. Black, cream, rust, deep green, and brass can create a sophisticated palette. Use wood, glass, ceramic, linen, and dried foliage whenever possible, and avoid overcrowding your displays.
- What can I use to make homemade Halloween decorations?
You can use everyday items such as cardboard, paper, glass jars, old picture frames, fabric, branches, twine, ribbon, pumpkins, paint, and leftover craft supplies. Repurposing these materials can help you create plenty of Halloween decorations without buying a large collection of seasonal items.
- How can I make Halloween decorations on a budget?
Start by shopping your own home before visiting a store. Repurpose jars, cardboard boxes, old frames, fabric, baskets, and branches. Invest in versatile craft supplies such as black cardstock, paint, twine, and ribbon so you can use them across multiple projects.
- What DIY Halloween decorations work well for small spaces?
Use decorations that take advantage of vertical space. Paper bat walls, window silhouettes, hanging ghosts, small garlands, wreaths, and decorated picture frames work particularly well in apartments and smaller homes because they don't take up much floor or counter space.
- How can I make DIY Halloween decorations safe?
Use battery-operated candles around paper, cardboard, fabric, and dried materials. Keep decorations away from heaters and open flames, and make sure outdoor decorations can handle wind. Also keep walkways, stairs, and exits clear.
- Can I combine DIY Halloween decorations with fall decor?
Absolutely. In fact, fall decor makes an excellent foundation for Halloween decorating. Combine pumpkins, dried leaves, wood, baskets, and warm textiles with black candles, bats, ghosts, dark foliage, and other subtle Halloween accents. After Halloween, simply remove the spooky elements and keep the rest of your fall decor.
DIY Halloween Decorations You Can Actually Make at Home
Halloween decor doesn’t have to mean spending half your paycheck at the seasonal aisle. Some of the coolest decorations can come from cardboard, paper, old jars, branches, fabric, and a little creativity.
I’ve always liked DIY Halloween decorations that look intentional rather than something you made five minutes before guests arrived. The best part? You can customize homemade decor to match your home’s style, whether you prefer cozy fall decorating, spooky gothic rooms, farmhouse interiors, or something playful.
So grab your craft supplies, raid that random drawer full of stuff you keep “just in case,” and let’s make some Halloween decor. 🎃
Start With a Halloween Decorating Style
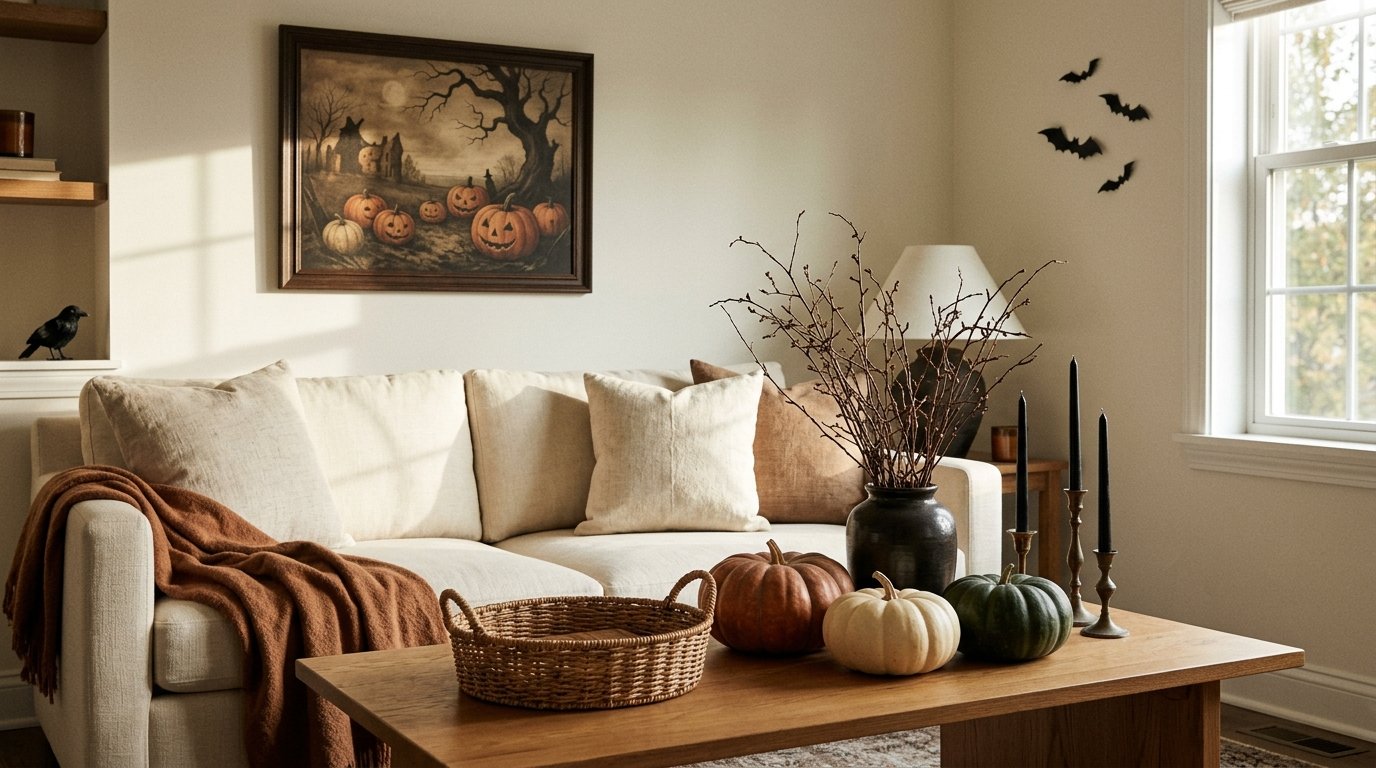
Before you start cutting cardboard into bats, decide what kind of Halloween atmosphere you want.
Do you want your home to feel spooky and mysterious? Maybe you prefer cozy and autumnal with just a few creepy details. Or perhaps you want classic Halloween with plenty of orange, black, pumpkins, and ghosts.
Choosing a style first makes DIY decorating much easier.
Try one of these directions:
- Cozy Halloween: Cream, rust, brown, muted orange, candles, pumpkins, and dried foliage
- Classic Halloween: Black, orange, purple, ghosts, bats, pumpkins, and traditional Halloween shapes
- Gothic Halloween: Black, burgundy, deep green, antique brass, candles, old frames, and dark florals
- Farmhouse Halloween: Neutral pumpkins, wood, burlap, black accents, plaid, and natural materials
- Cute Halloween: Friendly ghosts, tiny pumpkins, playful signs, soft colors, and simple paper crafts
I usually lean toward cozy Halloween decor with darker accents because it works nicely with everyday home decor. You can remove the spooky pieces later and keep the fall decorations.
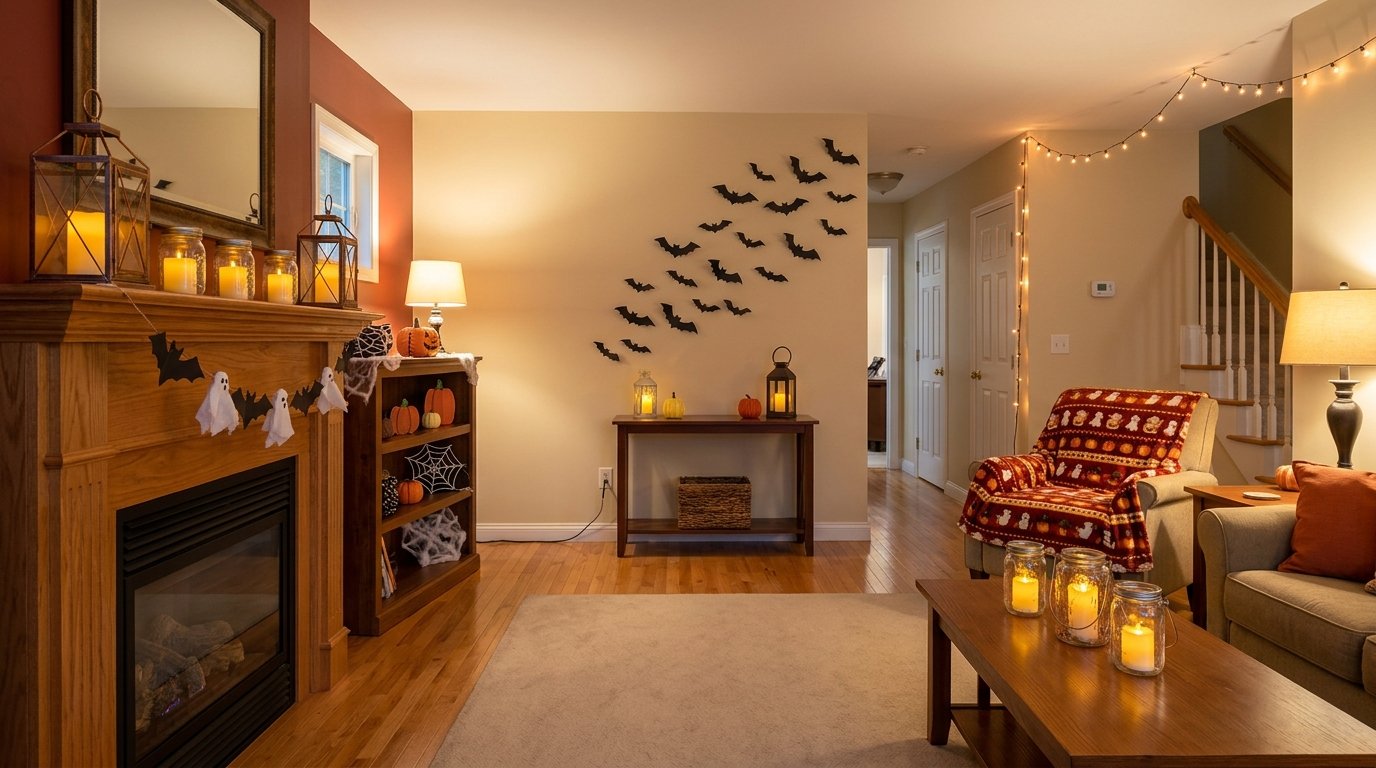
Make a Simple Black Bat Wall
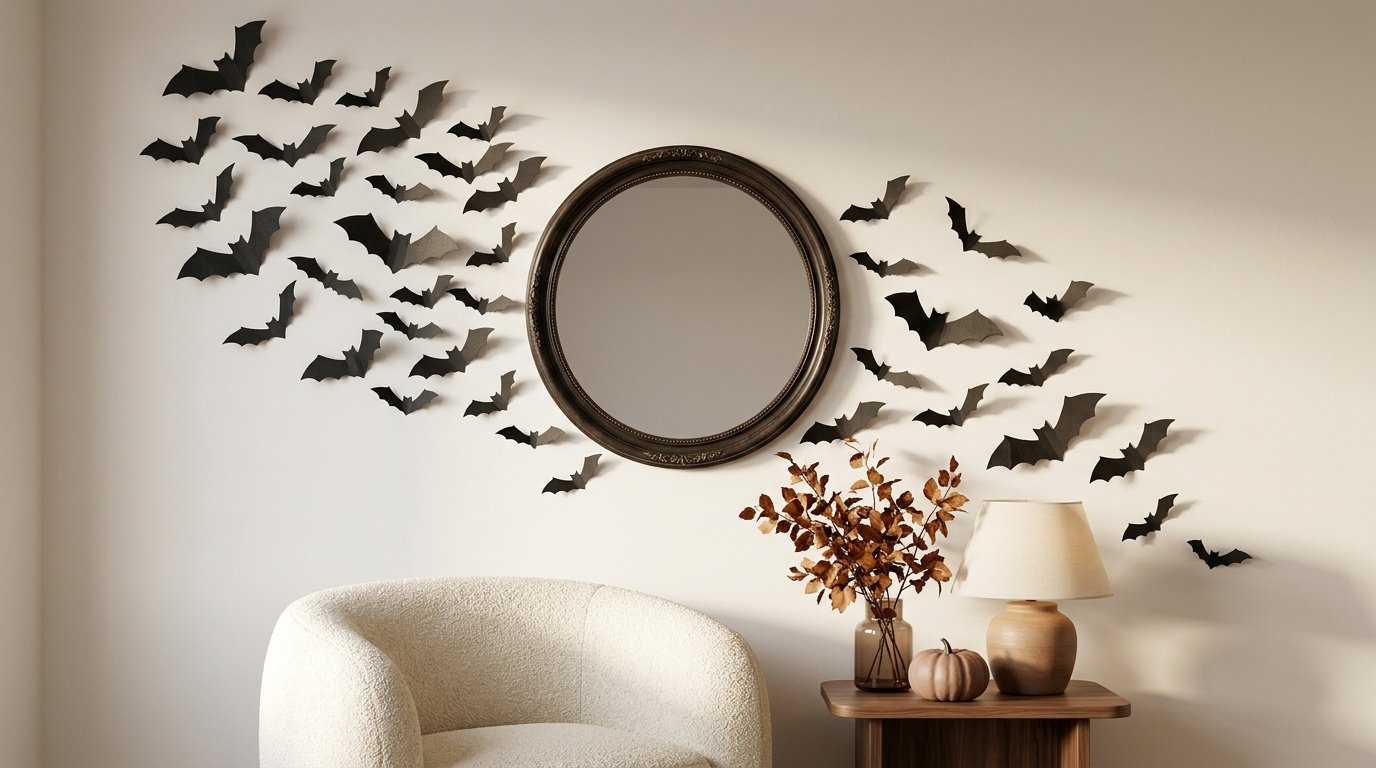
Paper bats might rank among the easiest DIY Halloween decorations you can make.
You only need black cardstock or construction paper, scissors, a pencil, and removable adhesive. That’s it.
How to Make the Bats
Start by drawing a simple bat shape on a piece of cardstock. You don’t need perfect symmetry because slight differences can make the finished display look more natural.
Cut out your first bat and use it as a template for the rest. Make several sizes so your wall display doesn’t look too uniform.
Then gently fold the wings forward to give each bat some dimension.
Stick the bats around a mirror, fireplace, doorway, staircase, or blank wall. Start with a small group and gradually spread them outward.
Use removable adhesive if you rent your home or don’t want to damage your paint.
Want a more dramatic look? Create a group of bats that appears to fly upward from one corner of the room.
That little trick makes a basic paper craft look surprisingly polished.
Turn Old Jars Into Spooky Lanterns
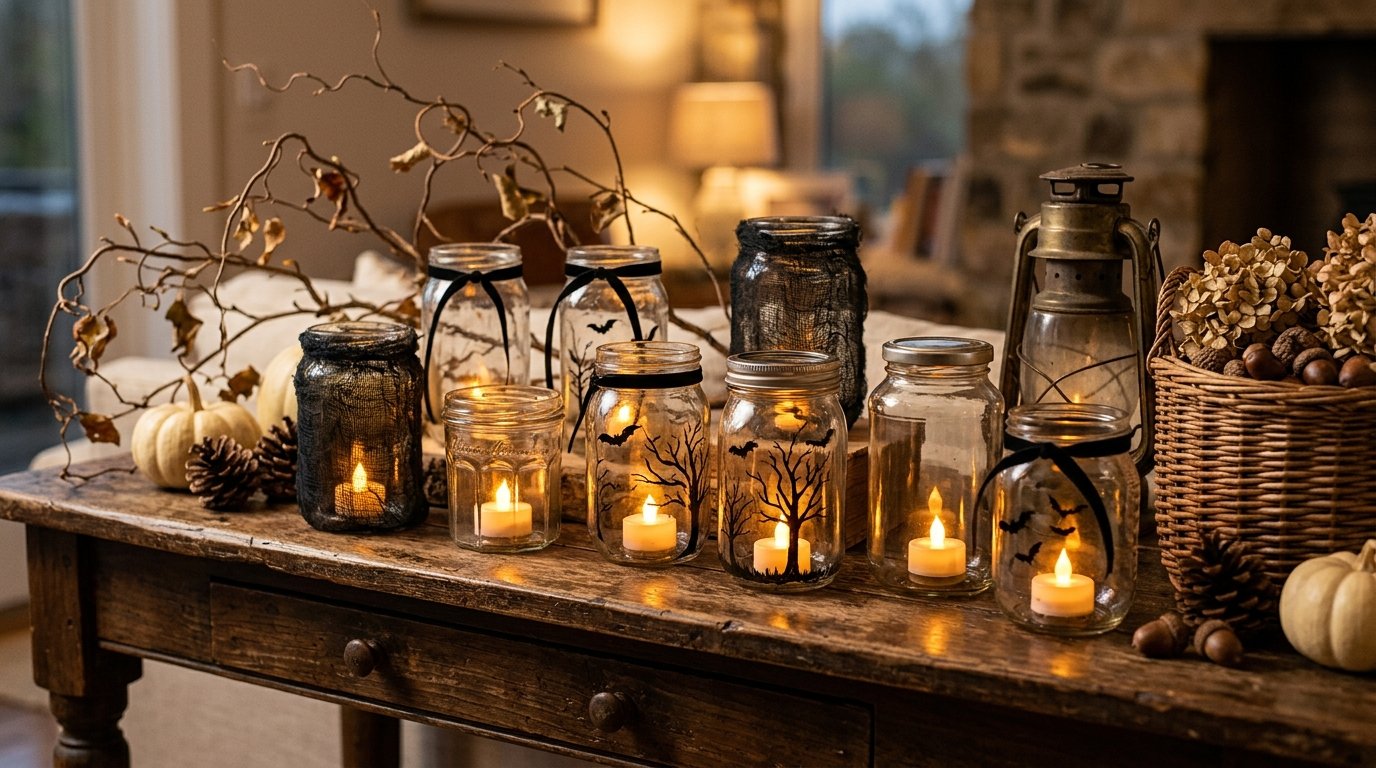
Before you throw those empty glass jars into recycling, give them a second job.
Glass jars make excellent DIY Halloween lanterns because they already have the basic structure you need. You can use jam jars, sauce jars, mason jars, or small glass containers.
Clean the jars thoroughly and remove the labels.
Then choose your design.
Try a Few Different Looks
For a simple spooky lantern, paint a black silhouette of a bat, cat, tree, or haunted house on the outside.
For a softer look, wrap the jar loosely with black gauze and place a battery-operated tea light inside.
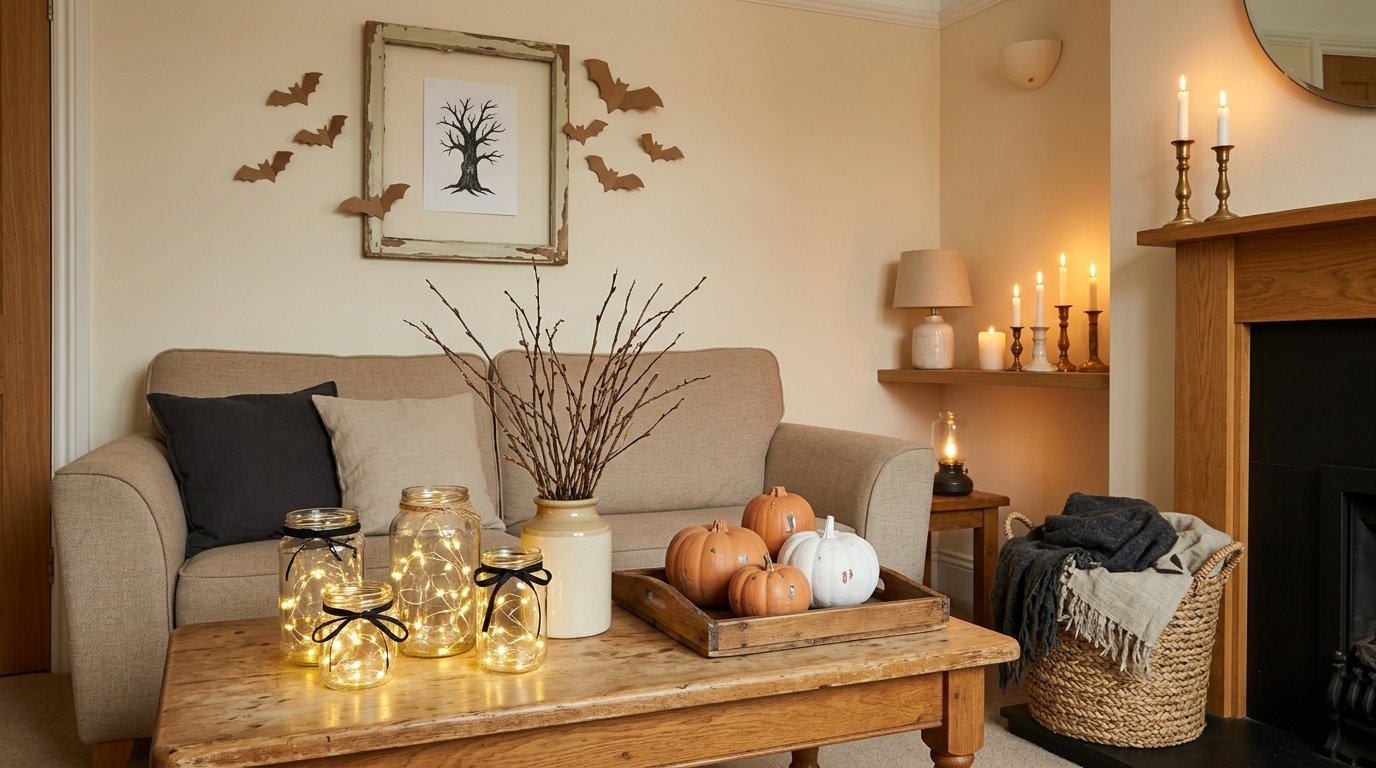
You can also fill a jar with dried branches and tiny warm fairy lights for a more autumnal effect.
Always choose battery-operated lights for homemade lanterns, especially when you use paper, fabric, dried foliage, or other flammable materials.
Place several jars together on a mantel, dining table, entryway console, or covered porch.
Different jar heights create a much better display than a row of identical containers.
Create a DIY Halloween Wreath
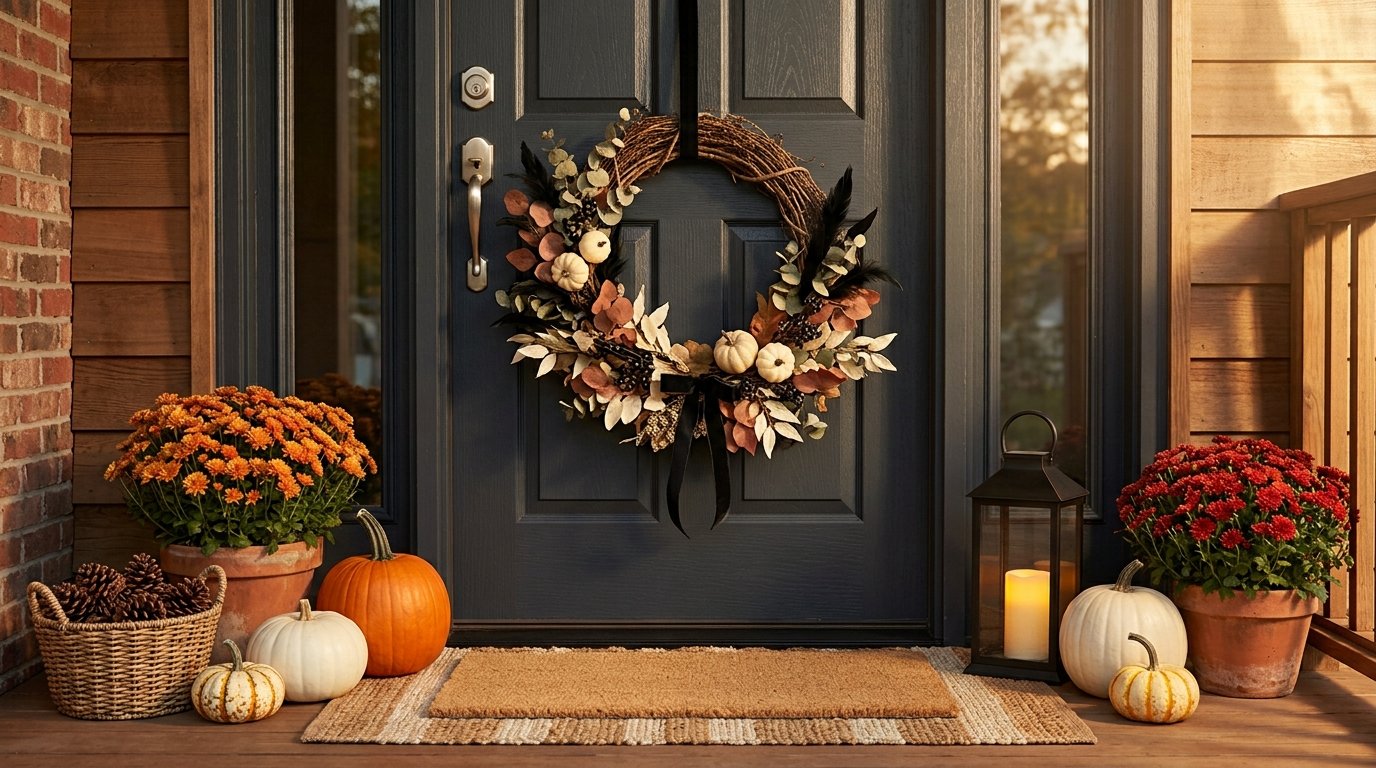
A Halloween wreath can instantly transform your front door, and you don’t need a fancy craft store kit to make one.
Start with a plain grapevine wreath, a foam wreath form, or even a sturdy cardboard circle.
Then build your design around your decorating style.
For a Cozy Fall Wreath
Use dried leaves, wheat, eucalyptus, small pumpkins, burlap ribbon, and muted orange foliage.
For a Spooky Wreath
Use black branches, dark ribbon, faux cobweb material, black feathers, and a few small plastic spiders.
For a Gothic Wreath
Try burgundy flowers, dark greenery, black ribbon, antique-style ornaments, and small brass details.
You can attach most materials with floral wire or a hot glue gun.
Keep the design slightly asymmetrical. A wreath doesn’t need perfect balance to look finished. In fact, an off-center arrangement can feel much more natural.
If you want to reuse the wreath after Halloween, build the base with regular fall materials and add removable spooky decorations.
Make Floating Ghosts From Fabric
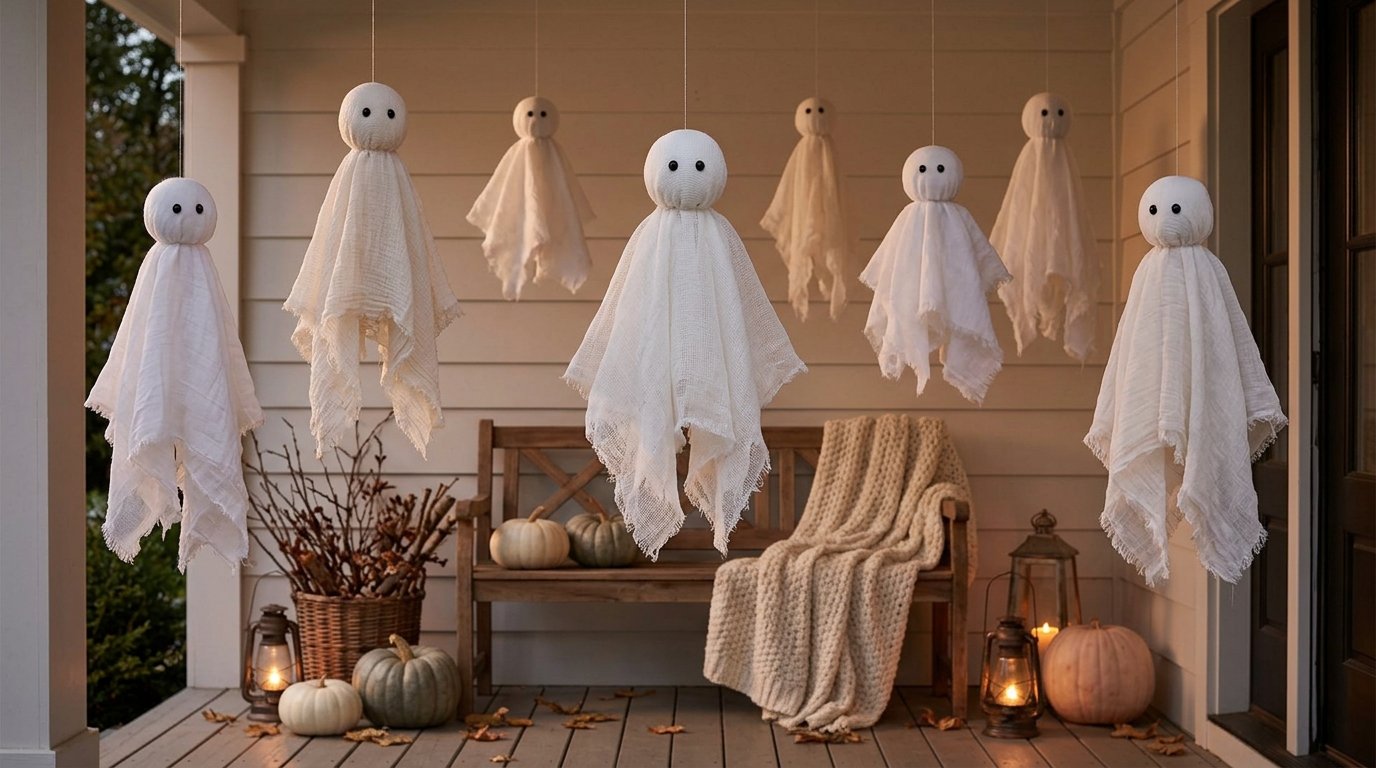
You don’t need a complicated sewing project to make cute DIY Halloween ghosts.
Grab some lightweight white fabric, cheesecloth, an old white sheet, or even thin cotton material.
Place a small ball or crumpled piece of paper at the top to create the ghost’s head. Tie a piece of string underneath the head to create the basic shape.
Add two small black eyes with fabric marker or removable paper circles.
Then hang the ghosts from a ceiling, porch roof, staircase, or tree branch.
Make Them Look Better With Different Heights
Hang some ghosts higher and others lower.
Give a few slightly different shapes.
You can even create one larger ghost surrounded by several tiny ones.
The uneven arrangement makes the display feel playful rather than factory-made.
For outdoor displays, secure everything properly so wind doesn’t turn your cute ghosts into neighborhood fugitives.
Turn Cardboard Into Haunted House Silhouettes
Got some cardboard boxes sitting around?
Perfect.
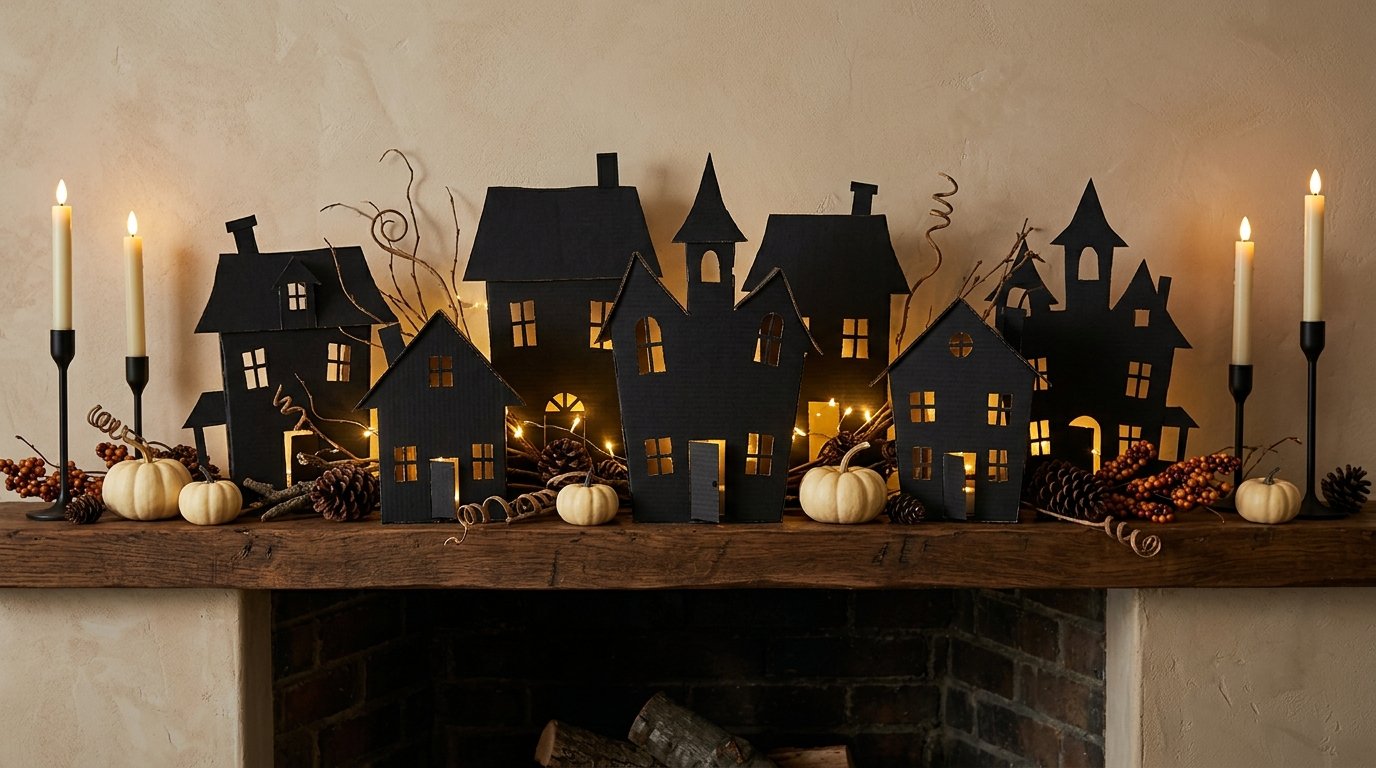
You can turn them into simple haunted house silhouettes for your mantel, windowsill, or entryway.
Draw several house shapes with crooked roofs, chimneys, windows, and doors. Cut them out carefully with a craft knife or scissors.
Paint the cardboard black.
Then place battery-operated lights behind the silhouettes.
The light shining through the windows creates a simple haunted-house effect.
Add More Detail
Create several houses in different sizes.
Add tiny cutout windows.
Place the houses behind a layer of dried branches.
You can also sprinkle small pumpkins around the base.
This project costs very little but can create a surprisingly dramatic display.
If you have children helping, let them design the house shapes while an adult handles any sharp cutting tools.
Make a Spooky Mirror
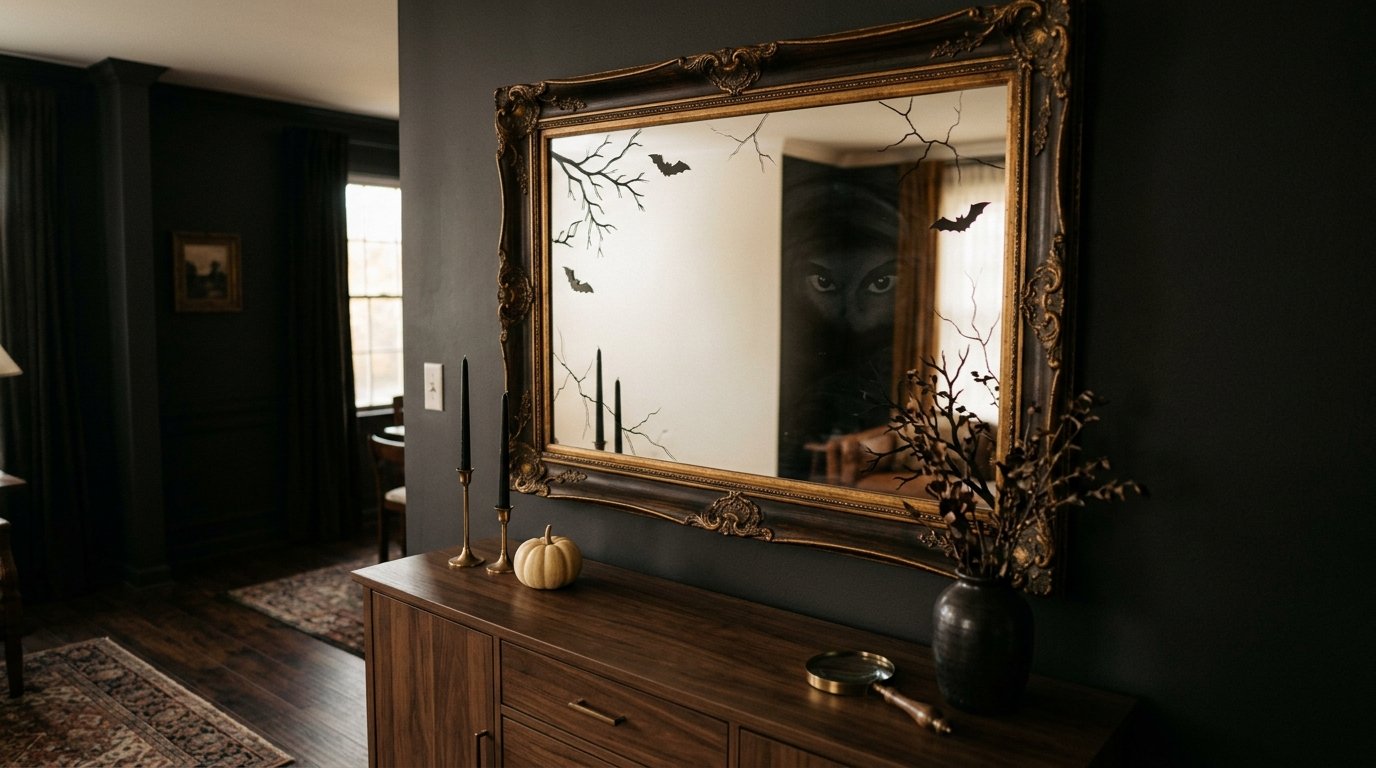
You can turn an ordinary thrifted mirror into a creepy Halloween accent without permanently damaging it.
Start with an inexpensive mirror or an old frame you already own.
Clean the glass thoroughly.
Then add temporary details around the edges using removable window markers.
Try drawing:
- Cracks
- Tiny bats
- Spiders
- Bare branches
- Creepy eyes
- Short Halloween phrases
Keep most of the center clear so the mirror still works as a mirror.
For an older, gothic appearance, place a dark frame around it and add black candles or dried branches nearby.
The frame does most of the visual work, so you don’t need to cover the glass with decorations.
This idea works particularly well above an entryway console or fireplace mantel.
Create DIY Halloween Candle Holders
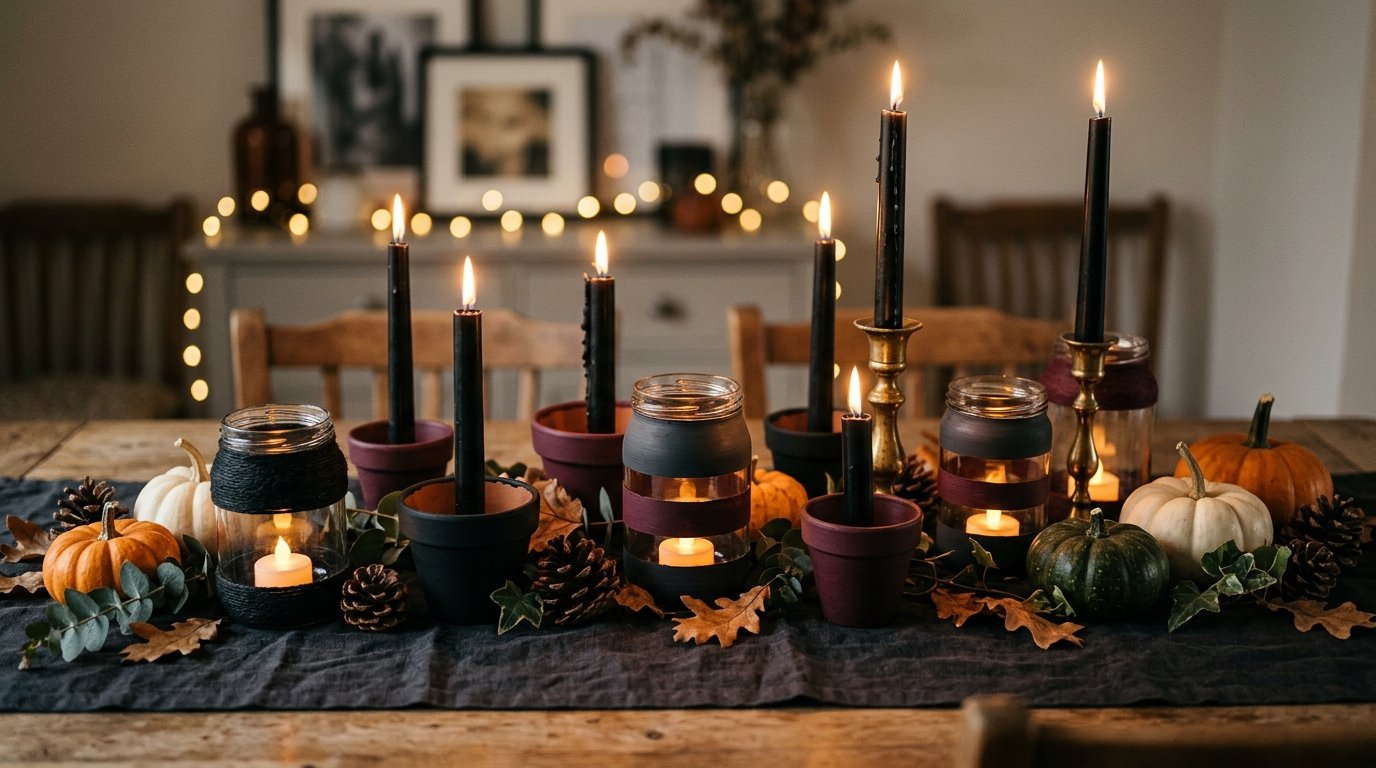
Candles instantly create a spooky atmosphere, but you can make the holders yourself.
Start with small glass jars, thrifted candleholders, terracotta pots, or empty glass bottles.
Paint the exterior matte black, deep green, charcoal, or burgundy.
Add a simple label, ribbon, dried foliage, or small decorative detail.
Try a Vintage Look
Use old-looking brass or bronze candleholders if you have them.
Group them with black taper candles, dried branches, and small pumpkins.
Different heights make the arrangement feel collected instead of repetitive.
If you use actual flames, keep candles on stable, heat-resistant surfaces and away from fabric, paper, dried plants, curtains, children, and pets.
Battery-operated candles offer an easier option for busy areas.
Make a DIY Pumpkin Display
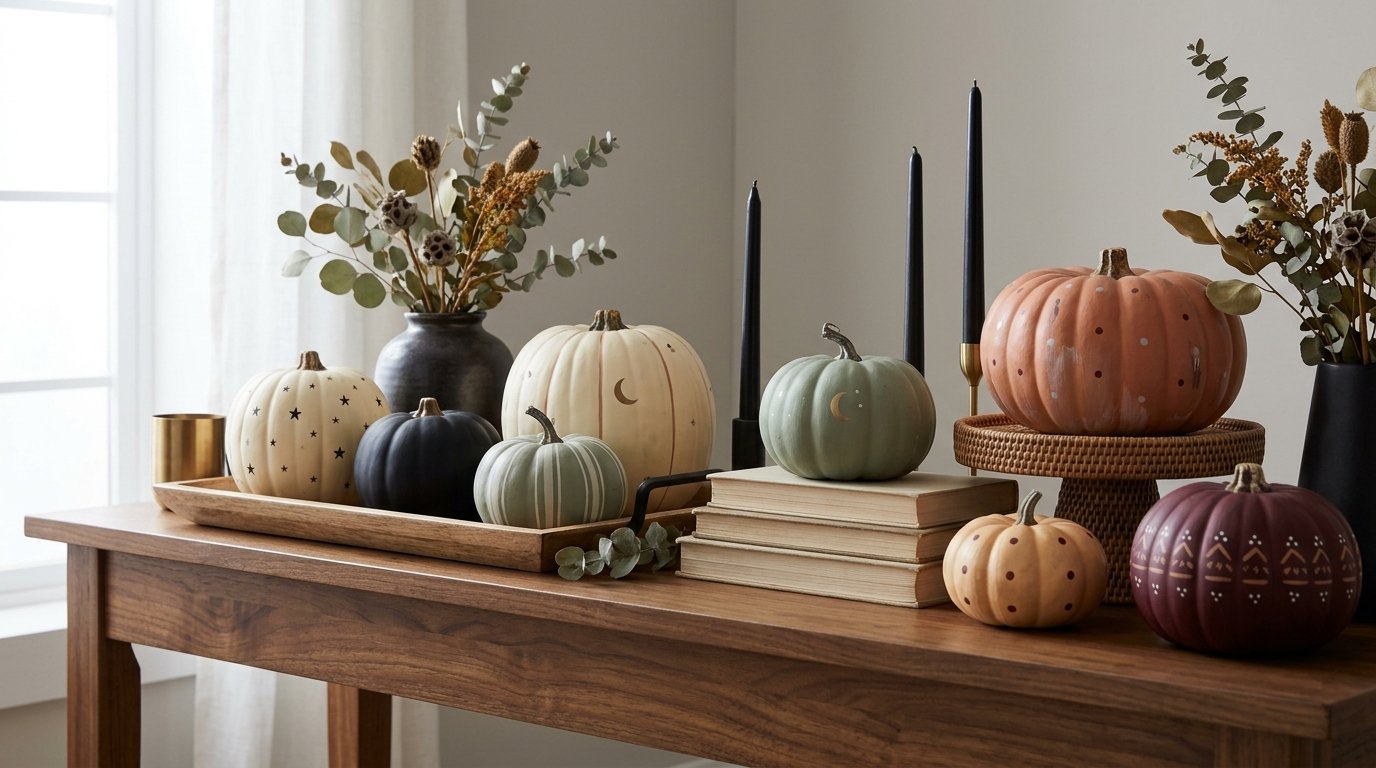
You don’t always need to carve pumpkins.
Painting them gives you much more freedom.
Start with small pumpkins or faux pumpkins.
Paint them in:
- Cream
- Black
- Sage green
- Burnt orange
- Deep burgundy
- Charcoal
Then add simple patterns.
Try tiny stars, stripes, moons, dots, checkered patterns, or minimalist faces.
Create a Coordinated Set
Choose two or three colors and repeat them across your pumpkins.
For example, combine cream, black, and muted orange.
Place the pumpkins on a console table, mantel, staircase, dining table, or porch.
A coordinated pumpkin collection often looks more stylish than a pile of completely unrelated designs.
And unlike carved pumpkins, painted pumpkins can last much longer.
Make a DIY Halloween Garland
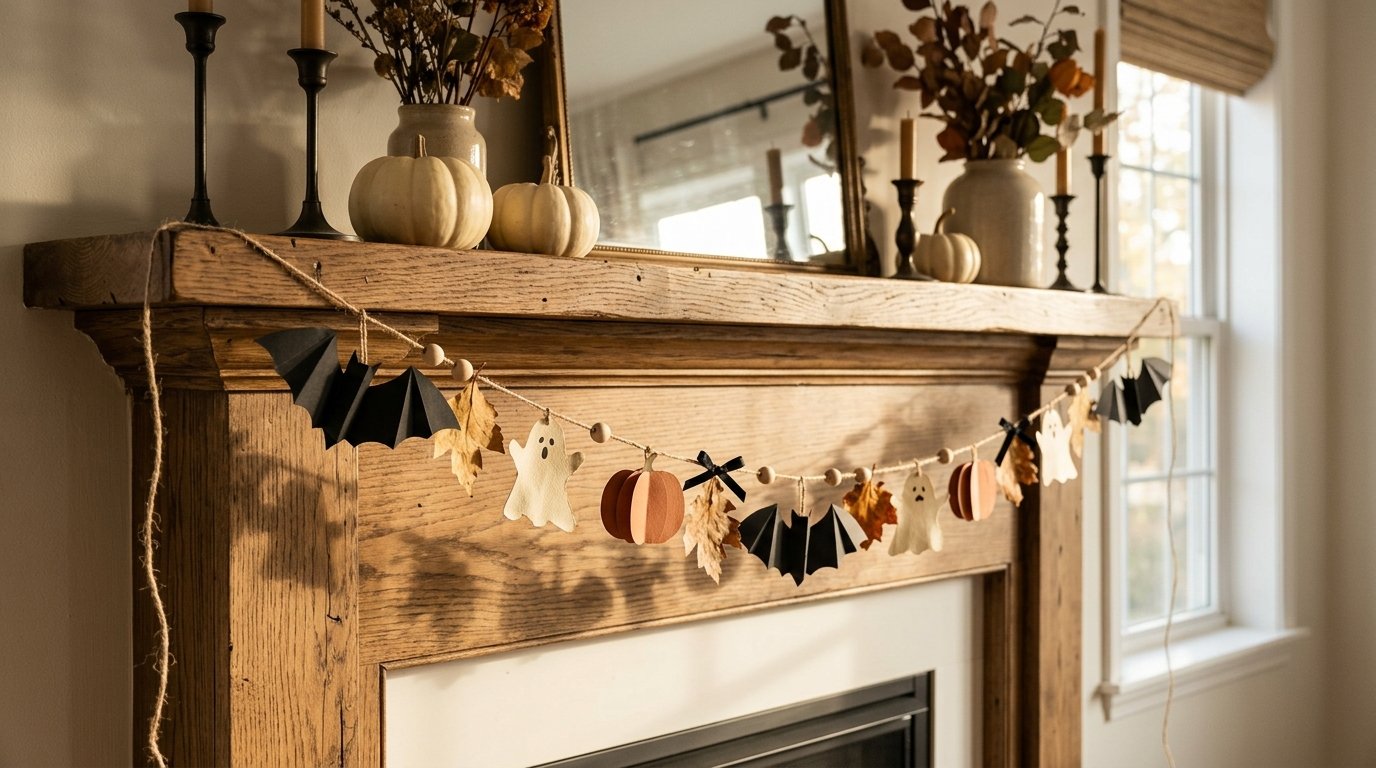
Garlands work beautifully across fireplaces, shelves, windows, and stair railings.
You can make one from paper, fabric, dried leaves, or cardboard.
For a simple paper garland, cut out repeated shapes such as bats, pumpkins, ghosts, or leaves.
Punch two small holes in each shape and thread them onto twine.
You can also alternate Halloween shapes with autumn leaves to create something that works for the entire season.
Try a More Natural Garland
Use dried leaves, eucalyptus, wheat, pinecones, and small wooden beads.
Add a few black ribbons or tiny bats to shift the look toward Halloween.
This approach works especially well if you want fall and Halloween decor to blend together.
Turn Old Picture Frames Into Halloween Art
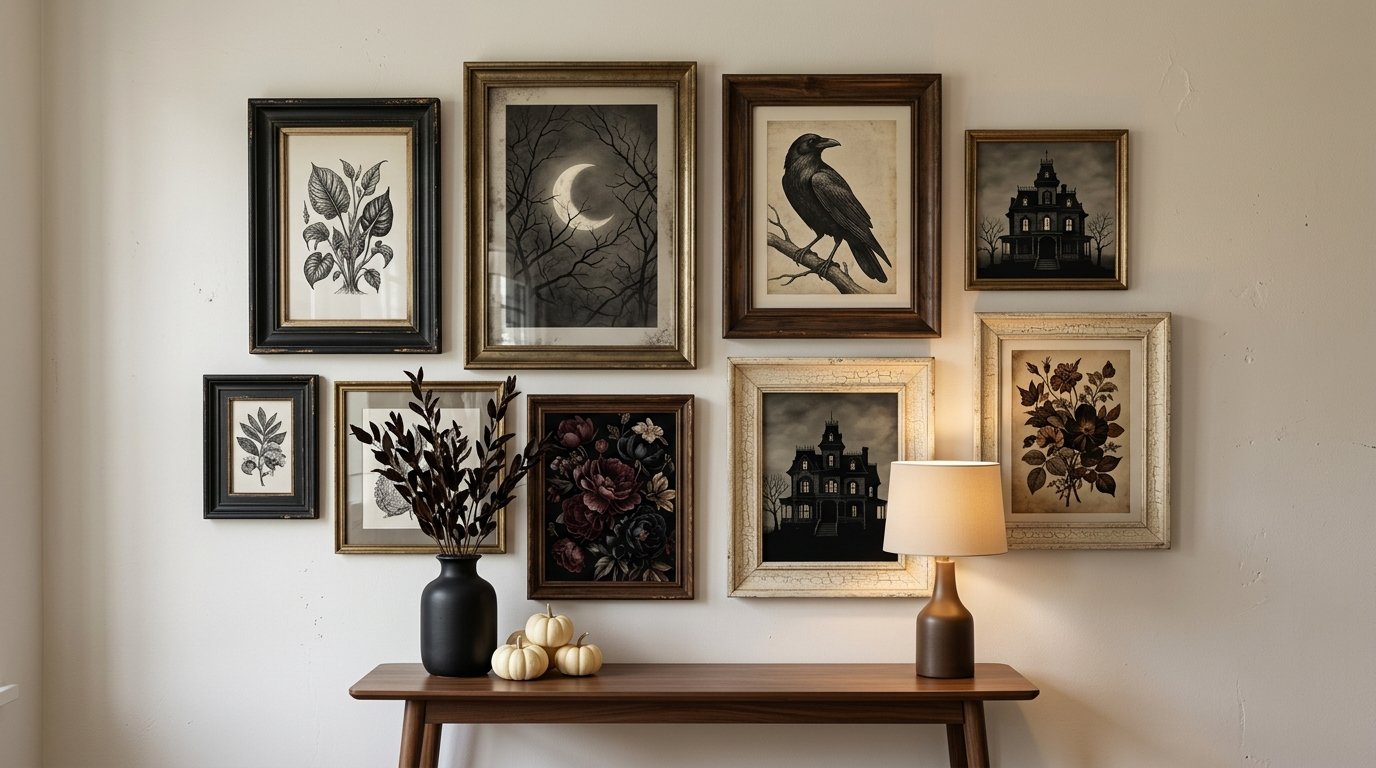
Old frames can become some of the easiest DIY Halloween decorations.
Look through your storage area or visit a thrift store for inexpensive frames.
Paint the frame black if necessary.
Then fill it with your own artwork.
You can print or draw:
- Vintage-style botanical illustrations
- Black-and-white haunted houses
- Moon illustrations
- Crow silhouettes
- Antique-looking Halloween typography
- Skeleton botanical artwork
- Dark floral drawings
Arrange several frames together to create a gallery wall.
Mix different frame sizes and styles so the arrangement feels collected.
For a temporary Halloween display, simply switch the artwork back to your regular prints after October.
Make a DIY Halloween Centerpiece
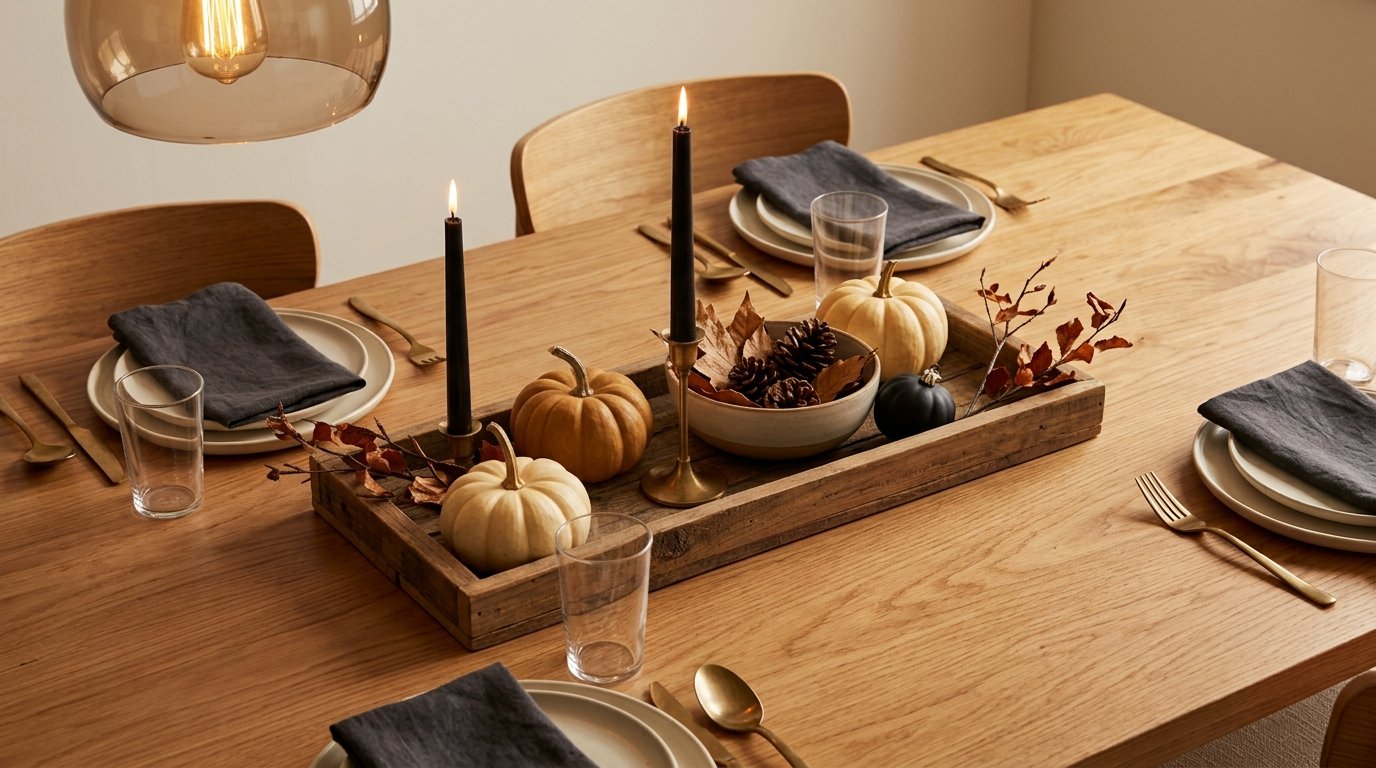
Your dining table doesn’t need an expensive centerpiece.
Start with a tray, shallow bowl, wooden board, or vintage container.
Then layer pumpkins, candles, dried branches, leaves, and small Halloween accents.
Keep your tallest objects toward the center or toward the back if you place the centerpiece against a wall.
Keep the Centerpiece Functional
Nobody wants to spend dinner staring around a giant bouquet.
Keep your centerpiece low enough for people to see each other across the table.
Try this simple combination:
- Three small pumpkins
- Two black candles
- One low bowl
- A handful of dried leaves
- A few pinecones
- One small decorative Halloween object
Simple arrangements often look better because they leave room for the table itself to breathe.
Create a DIY Spider Web Display
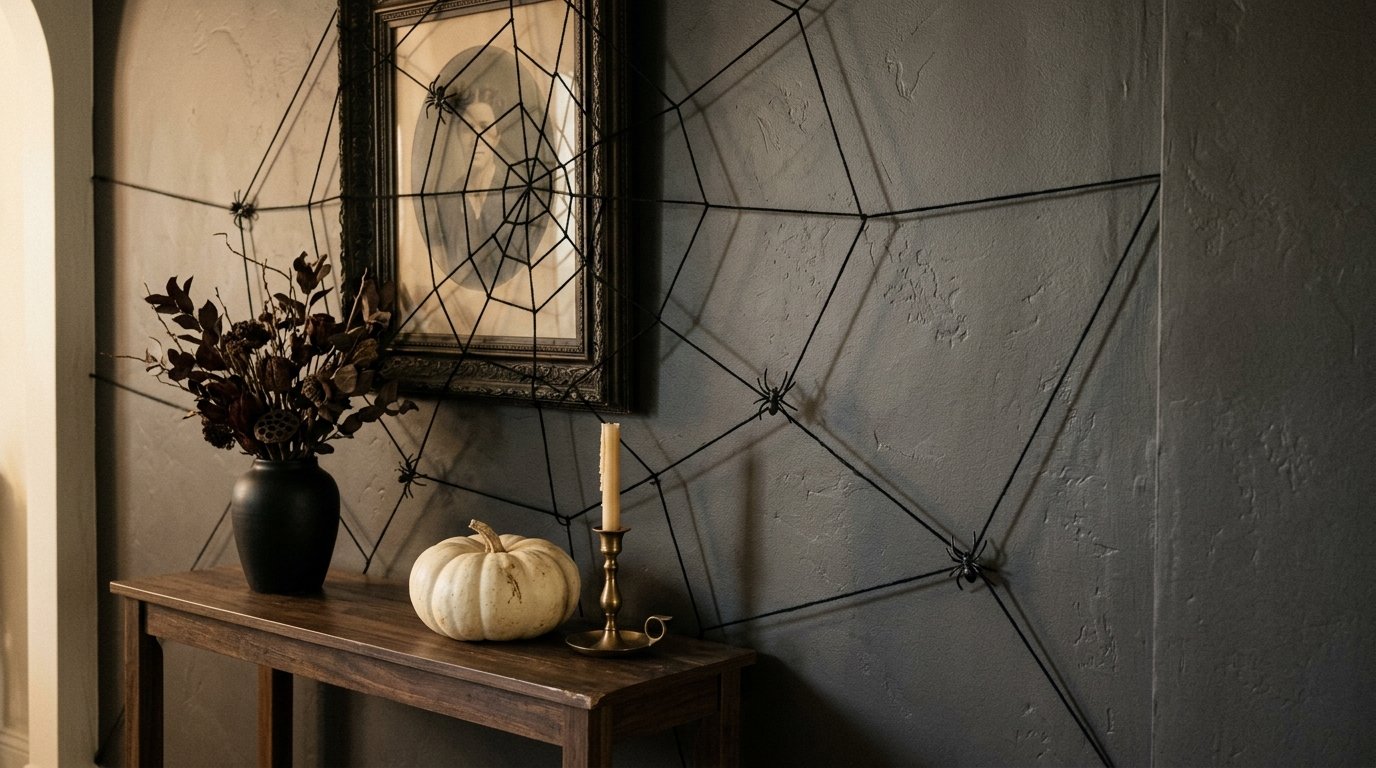
Fake spiderwebs can look surprisingly good when you use them carefully.
The problem starts when you cover every surface with them.
For a cleaner DIY display, stretch a small amount of web material across a single mirror, picture frame, doorway, or corner.
Add a few lightweight plastic spiders.
That’s it.
Want something more sophisticated?
Use black yarn or thin black string to create a geometric spiderweb pattern around a frame or wall corner.
The result looks more intentional and avoids the giant tangled-web situation that makes your living room look abandoned. :/
Make a Halloween Door Sign
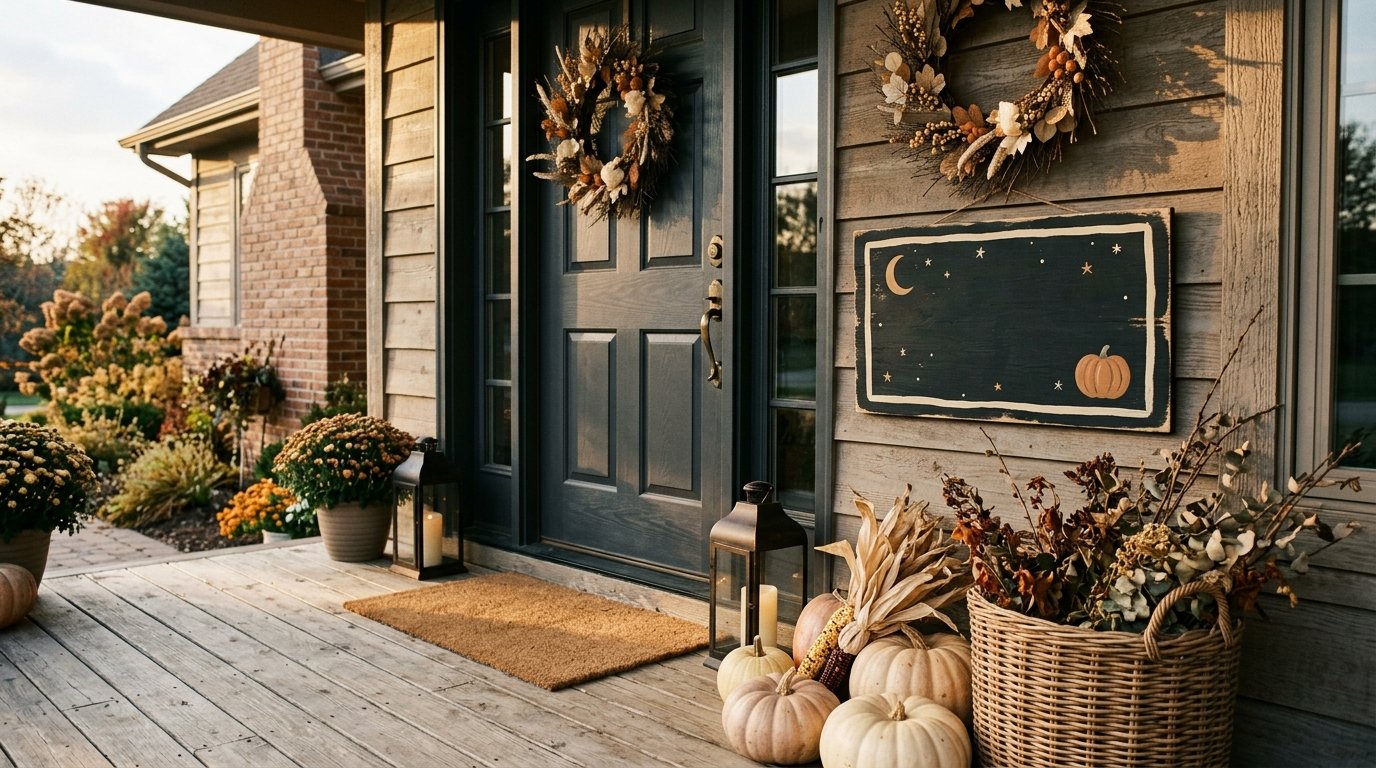
A simple door sign can give your entryway personality without requiring much work.
Use a piece of scrap wood, thick cardboard, or an old sign.
Paint it black, cream, or dark green.
Then add a short phrase such as:
- Trick or Treat
- Enter If You Dare
- Happy Halloween
- Boo
- Witch’s Welcome
- Spooky Season
You can keep the typography simple and pair it with small leaves, stars, bats, or branches.
For a more sophisticated result, use one strong phrase instead of covering the entire sign with graphics.
Hang it from your front door or place it beside your entryway.
Turn a Branch Into a Halloween Tree
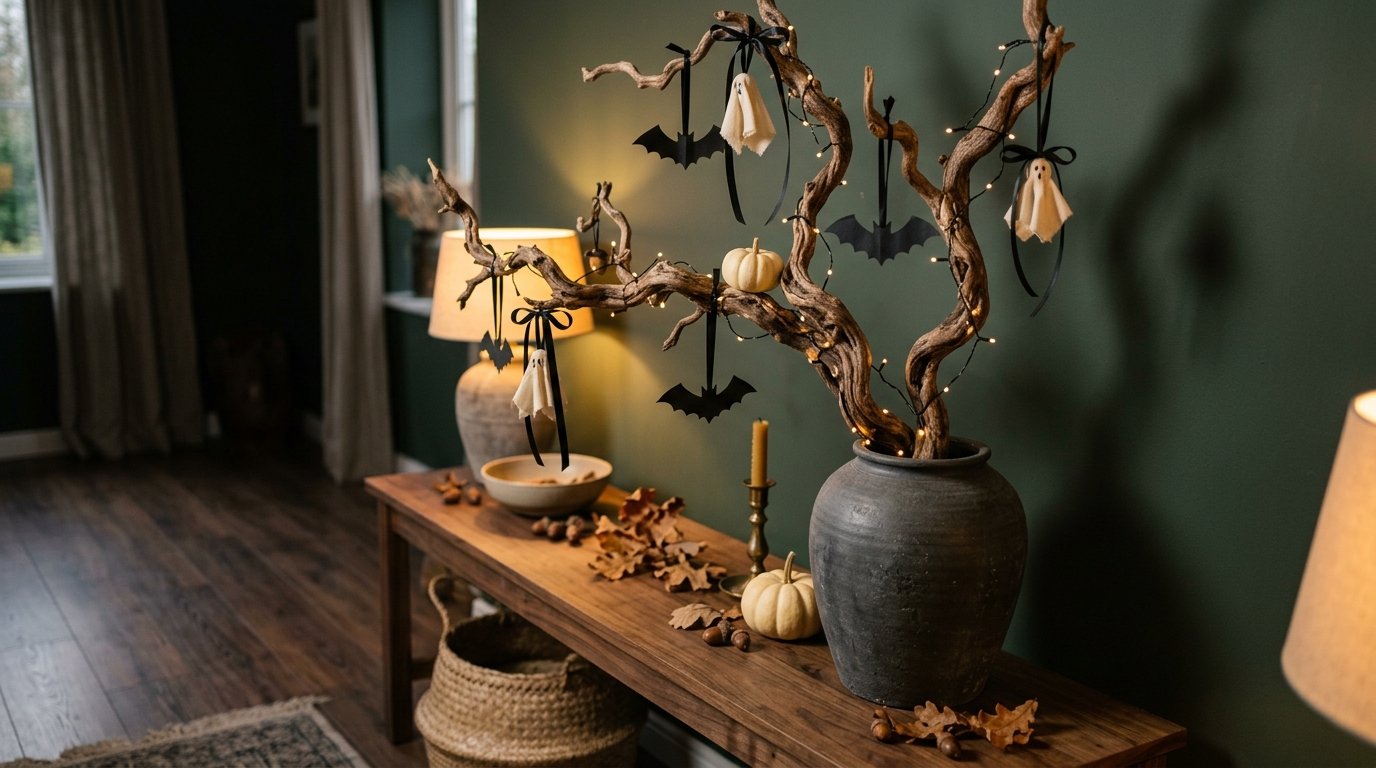
This one might become your favorite.
Find a sturdy fallen branch with an interesting shape.
Clean it and let it dry completely.
Place it inside a heavy vase or weighted container.
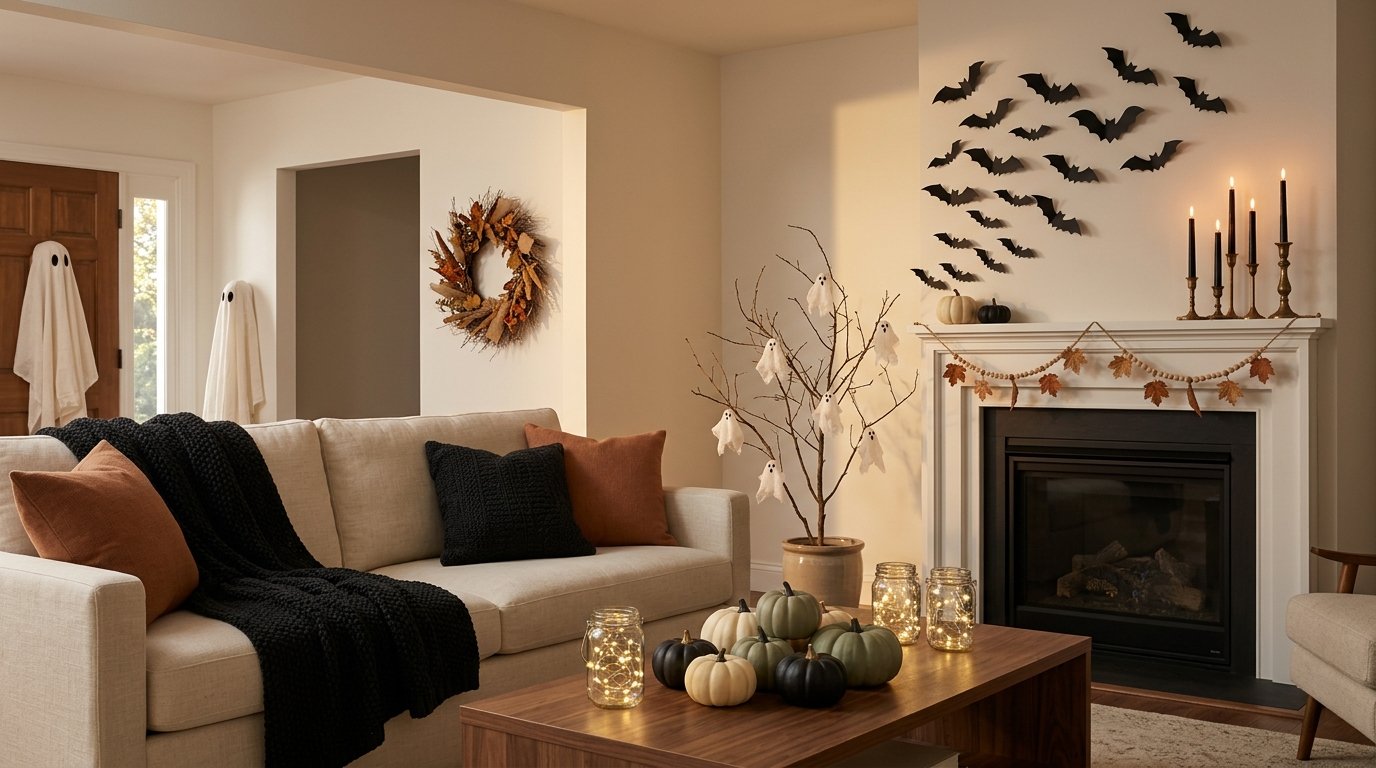
Then decorate the branches with small paper bats, black ribbons, miniature ghosts, tiny pumpkins, or warm fairy lights.
You can create a dramatic Halloween tree for a console table, corner, entryway, or covered porch.
Make It Work Beyond Halloween
Start with dried branches and neutral ornaments for fall.
Then add bats, ghosts, and black ribbons for Halloween.
After October 31, remove those pieces and replace them with autumn leaves or simple neutral ornaments.
One DIY project can give you several seasonal decorating options.
Create a DIY Witch Hat Display
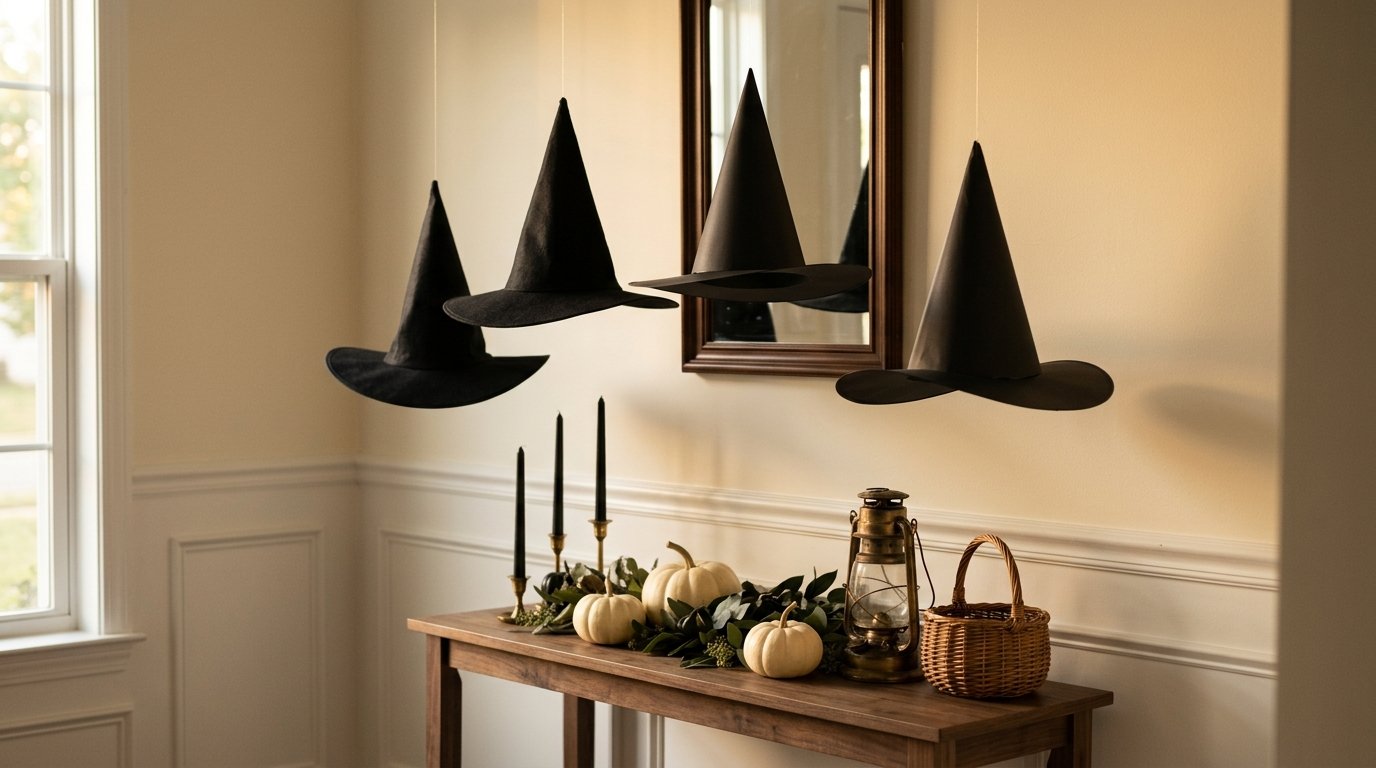
Witch hats can create a fun Halloween moment without requiring much crafting.
Buy inexpensive plain witch hats or make simple ones from black cardstock.
Hang several hats at different heights near an entryway, fireplace, or dining area.
For a more polished look, use black ribbon and keep the surrounding decor simple.
You can also place one oversized witch hat on a chair or console as a statement piece.
Pair it with pumpkins, candles, dried branches, or a dark floral arrangement.
One or two strong Halloween symbols often work better than a dozen competing ones.
Make DIY Halloween Pillows
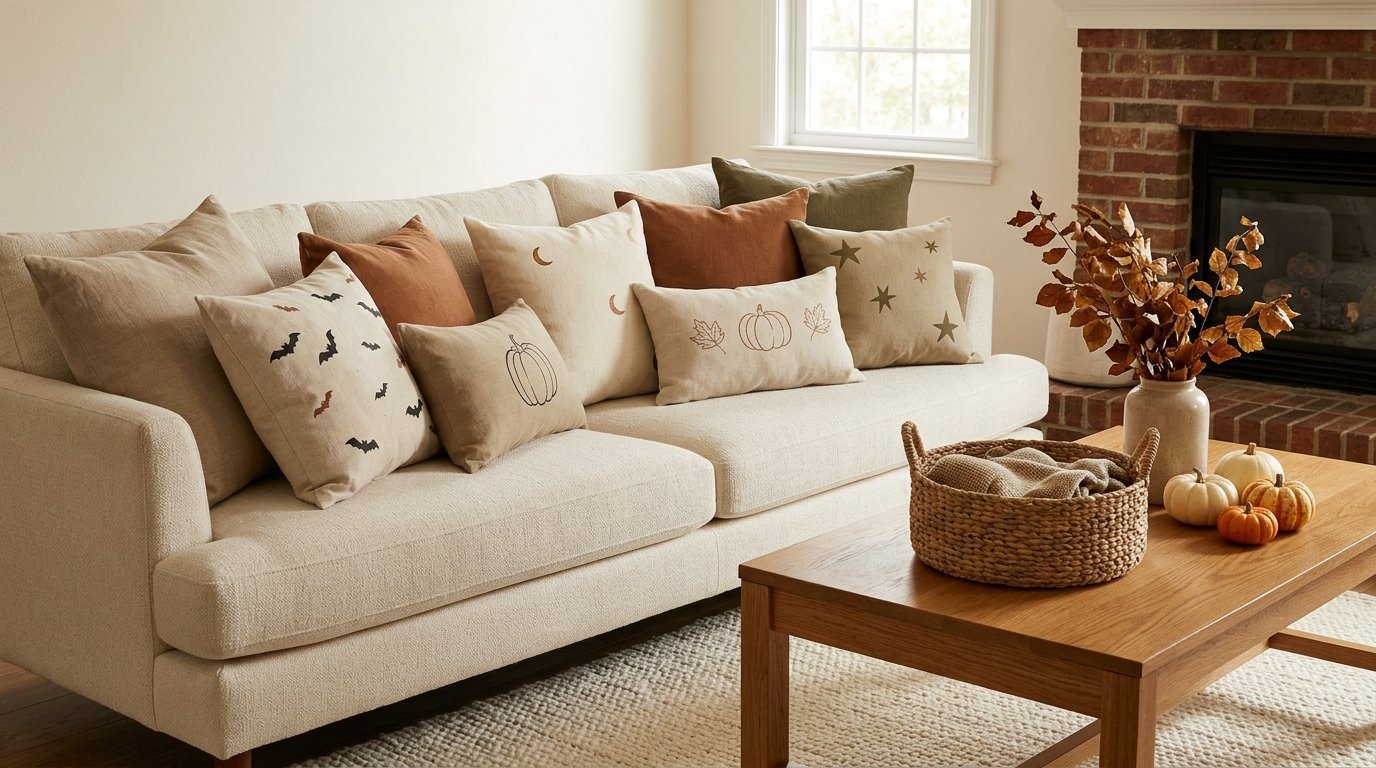
You don’t need sewing skills to change your pillows for Halloween.
Use plain pillow covers and decorate them with removable fabric designs, iron-on transfers, fabric markers, or simple stencils.
Try subtle designs such as:
- Black bats
- Crescent moons
- Tiny pumpkins
- Spooky typography
- Autumn leaves
- Black cats
If you prefer a cozy look, use neutral pillow covers and add one or two seasonal designs.
This approach lets you switch your decor without storing an entire collection of Halloween cushions.
Create a Spooky Window Display
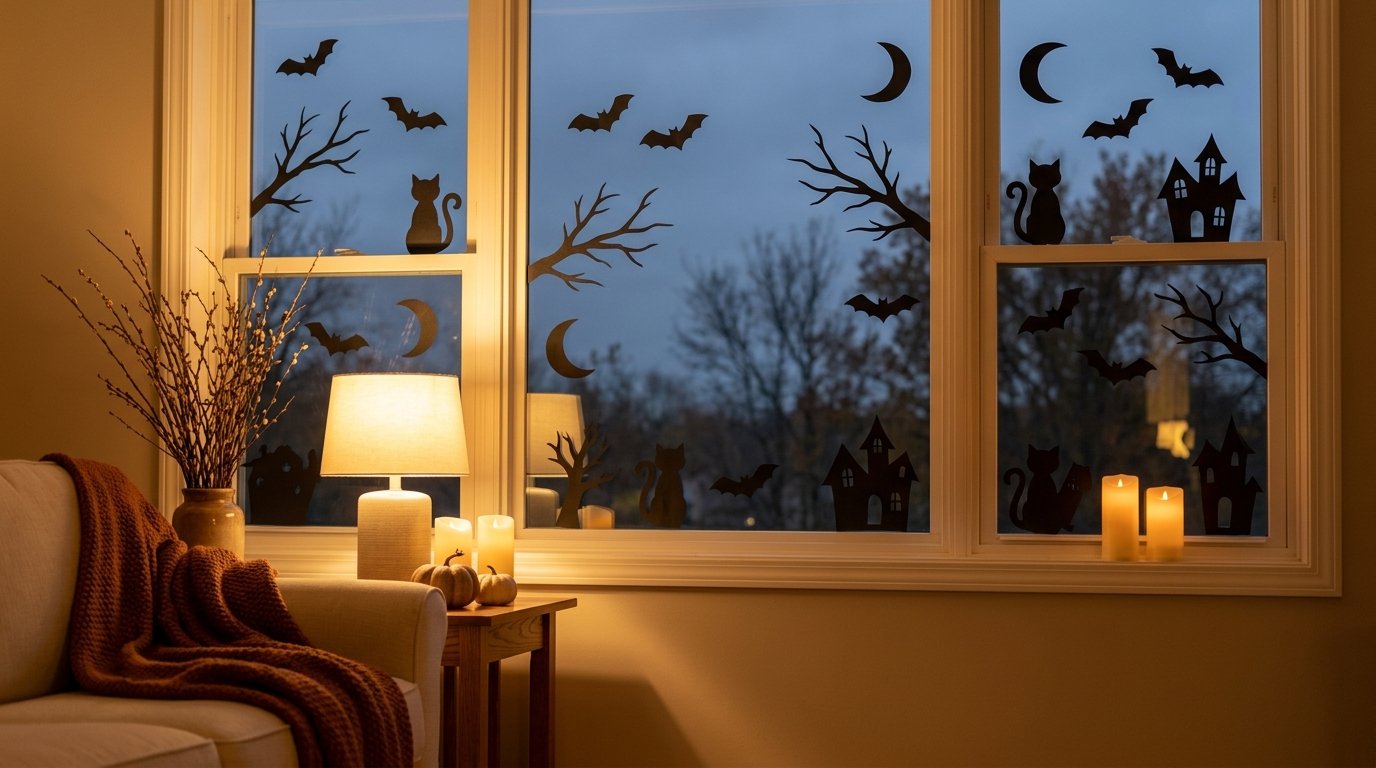
Windows give you a large decorating surface without taking up floor or counter space.
Cut black cardstock into silhouettes of bats, cats, branches, haunted houses, or pumpkins.
Stick them to the inside of your windows.
During the day, the shapes create simple silhouettes.
At night, your interior lights make them stand out from outside.
For a more dramatic display, place a warm lamp near the window behind the silhouettes.
This DIY works especially well for apartments and small homes because it uses vertical space.
How to Make DIY Halloween Decor Look More Expensive
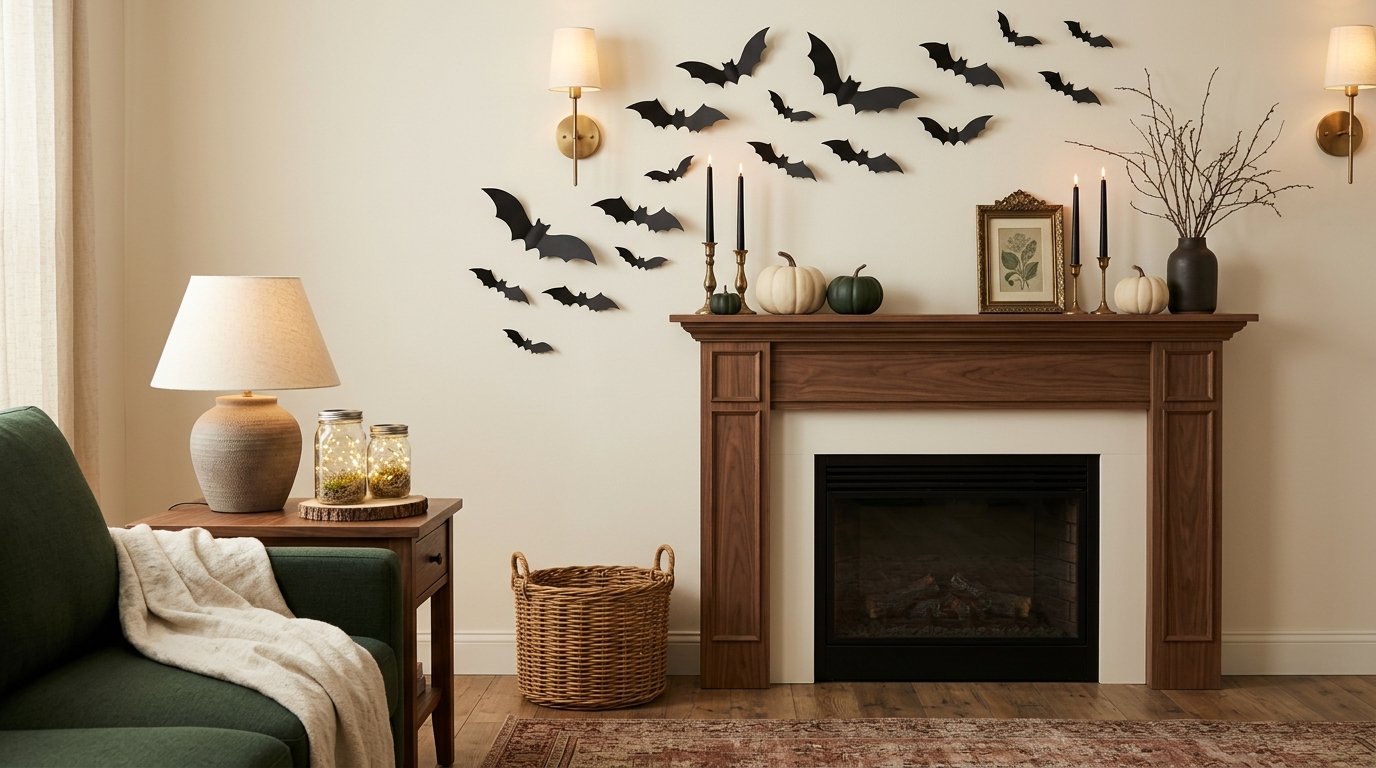
Here’s the secret: homemade doesn’t have to look homemade.
The easiest way to elevate DIY Halloween decorations involves controlling your colors and materials.
Choose a small palette such as:
- Black + cream + rust
- Black + deep green + brass
Then repeat those colors throughout your rooms.
Use natural materials such as wood, linen, glass, dried foliage, ceramic, and metal whenever possible.
Also, don’t overcrowd your displays.
Spacing matters just as much as the decorations themselves.
A handmade black bat display can look stylish when you arrange it carefully. The same bats scattered randomly across every wall can quickly look messy.
Safety Tips for Homemade Halloween Decorations
DIY projects can make Halloween much more fun, but safety still matters.
Keep these basics in mind:
- Use battery-operated candles around paper, fabric, cardboard, and dried foliage.
- Keep real candles on stable, heat-resistant surfaces.
- Keep decorations away from heaters and fireplaces.
- Avoid blocking doors, stairs, and walkways.
- Secure outdoor decorations against wind.
- Keep small craft pieces away from young children and pets.
- Let paint and adhesives dry completely before placing decorations indoors.
- Use appropriate tools and adult supervision for projects involving sharp blades or hot glue.
FYI, a beautiful Halloween display isn’t worth much if someone trips over it on the way to the kitchen.
How to Decorate Without Spending Much
The best DIY Halloween decorations often start with things you already own.
Before buying supplies, walk around your home and look for items you can repurpose.
Check your:
- Recycling bin
- Craft drawer
- Linen closet
- Storage boxes
- Thrifted decor
- Old picture frames
- Empty glass jars
- Cardboard boxes
- Leftover ribbon
- Unused baskets
Then create a shopping list for only the supplies you actually need.
Buy versatile materials instead of single-use decorations.
Black cardstock, twine, paint, ribbon, glass jars, and dried branches can support dozens of different projects.
That approach saves money and gives you much more creative freedom.
Final Thoughts
DIY Halloween decorations don’t need complicated instructions or expensive supplies.
Paper, cardboard, glass jars, branches, fabric, pumpkins, old frames, and a little imagination can transform your home for Halloween.
Start with one or two projects that match your home’s existing style. Then build your decorating around those pieces instead of trying to turn every room into a haunted attraction.
My favorite approach combines cozy fall textures with a handful of spooky details. That way, the decor feels seasonal without taking over the entire house.
So grab those old jars you’ve been saving for absolutely no identifiable reason, find some cardboard, and start making something.
Who knows? That random box you’ve been refusing to throw away might finally earn its keep. 🎃