- When should I start decorating for Halloween?
You can start decorating in early October if you want a full Halloween setup. Starting early gives you enough time to plan, shop for missing pieces, test lights, and gradually build the display. If you prefer a smaller setup, mid-October gives you plenty of time.
- How can I decorate my house for Halloween without spending a lot?
Start with decorations you already own. Move everyday decor aside and add pumpkins, candles, black accents, paper bats, faux spider webs, and DIY decorations. Lighting also gives you a lot of impact without requiring a huge budget. You can create a strong Halloween atmosphere with a handful of inexpensive pieces if you place them strategically.
- Should I decorate the whole house for Halloween?
You don’t need to. Focus on high-visibility areas such as the front porch, entryway, living room, and dining area. Add smaller touches to other rooms if you want more Halloween atmosphere. A few coordinated areas usually look better than covering every available surface.
- When should I put pumpkins outside?
You can place pumpkins outside whenever you like, but check them regularly if you use real pumpkins. Warm temperatures, moisture, insects, and direct sunlight can shorten their lifespan. If you want pumpkins to look their best on Halloween, consider waiting until closer to the holiday for your final outdoor arrangement.
- How do I make Halloween decorations look more stylish?
Choose a consistent color palette and avoid overcrowding. Black, white, warm orange, deep green, and natural wood tones can create a more coordinated look. Mix different heights, textures, and shapes instead of lining up identical decorations. You can also combine seasonal decorations with your existing furniture and accessories rather than replacing everything.
- How do I keep Halloween decorations from looking messy?
Give every display a focal point. Start with one larger decoration and add a few smaller pieces around it. Leave some empty space between objects and avoid placing decorations randomly across every surface. If an area feels too busy, remove a few pieces. Surprisingly, the missing decorations might make the remaining ones look better.
- What should I do the day before Halloween?
Do a final inspection. Test your lights, check outdoor decorations, replace batteries, clear walkways, prepare your costume, and make sure you have enough candy. Then take a breath. Your Halloween decorations don’t need to look perfect. They just need to create a fun atmosphere that makes people want to stop, look around, and enjoy the night.
The Halloween Decorating Checklist: What to Do Before October 31
Halloween decorating sounds simple until you realize October 31 somehow arrives while half your decorations still sit in a storage box.
I’ve learned that the easiest way to avoid that last-minute scramble involves one thing: a Halloween decorating checklist. You can decorate early, keep everything organized, and still save the big dramatic touches for Halloween night.
So, grab your storage bins, put on something spooky in the background, and let’s get your house ready before October 31. No frantic trips to the store at 6 PM. No tangled lights making you question your life choices. 🙂
Start With a Halloween Decorating Plan
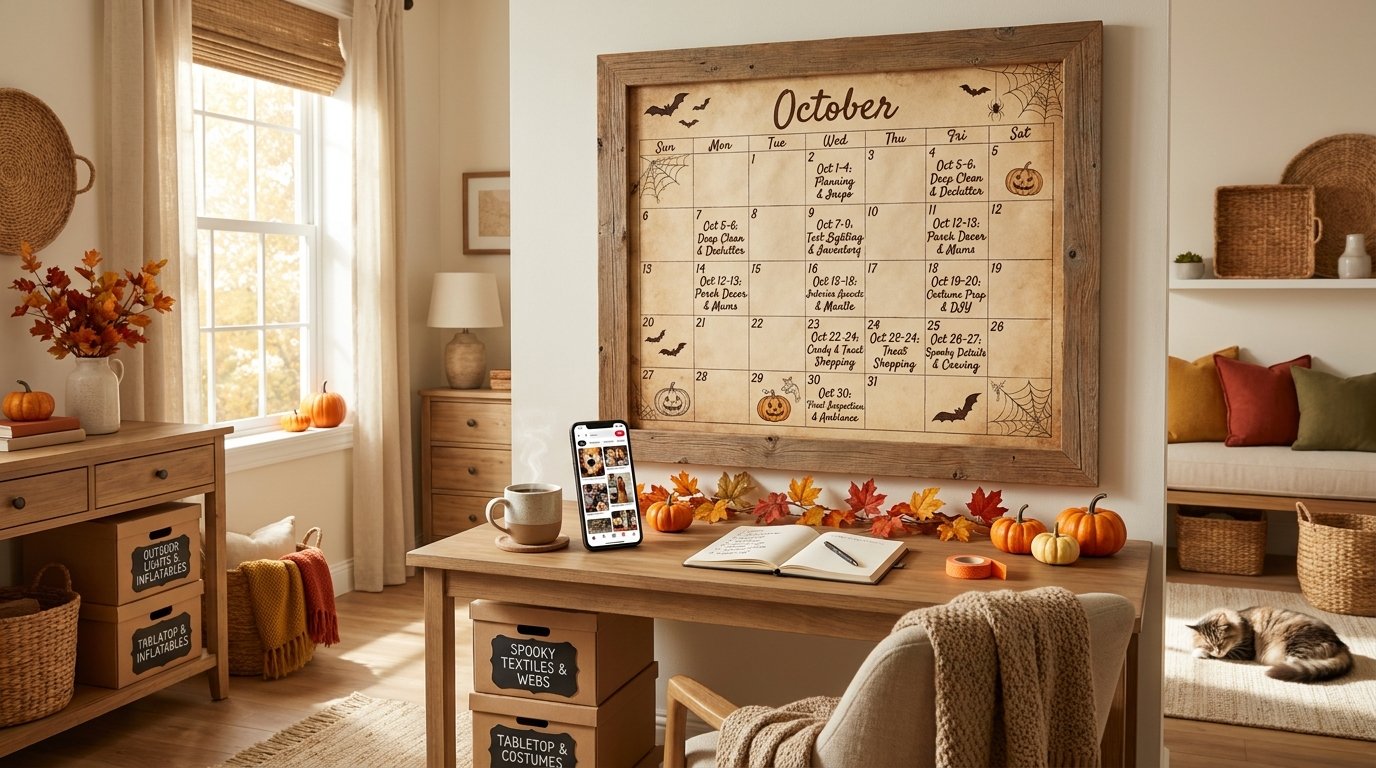
Before you hang a single ghost, pumpkin, or fake spider web, take a quick look around your home.
Which areas do you actually want to decorate? You don’t need to turn every room into a haunted house. A few well-decorated spaces can create a much stronger Halloween atmosphere than random decorations scattered everywhere.
I usually recommend focusing on three main areas:
- The front porch or entryway
- The main living area
- The dining table or kitchen
If you have extra time, you can expand into bedrooms, hallways, bathrooms, or outdoor spaces.
Pick Your Halloween Decorating Style
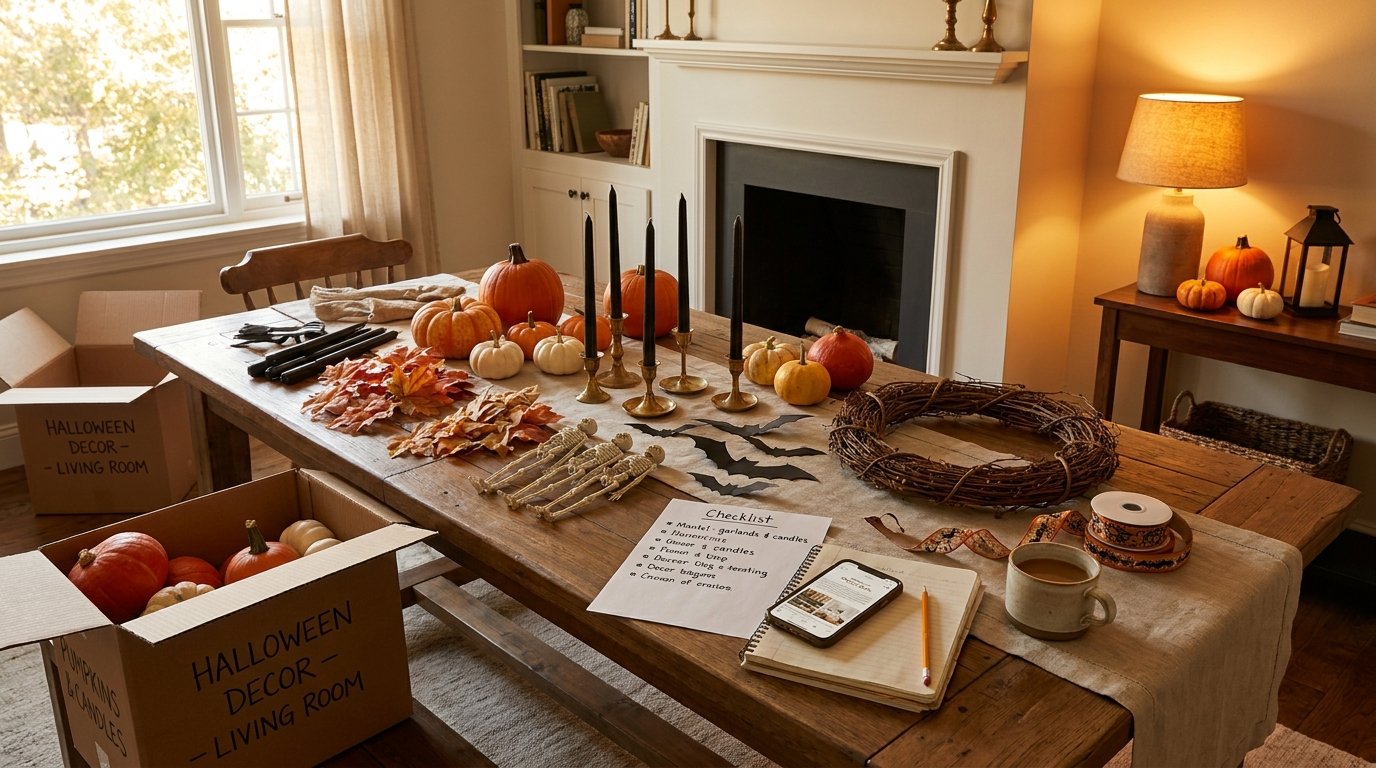
Choosing a general style before you start shopping can save you money and prevent your house from looking like five different Halloween stores exploded inside it.
Think about the mood you want.
Do you want classic spooky Halloween decor with orange pumpkins, black bats, skeletons, and witches? Maybe you prefer a creepy haunted-house atmosphere with darker colors and dramatic lighting.
You could also choose a more stylish approach with:
- Black and white decorations
- Neutral pumpkins
- Vintage Halloween pieces
- Gothic-inspired accents
- Warm candlelight
- Natural fall foliage
IMO, you don’t need dozens of decorations to create a great look. A consistent color palette and a few large statement pieces can do most of the work.
Make a Decoration Inventory
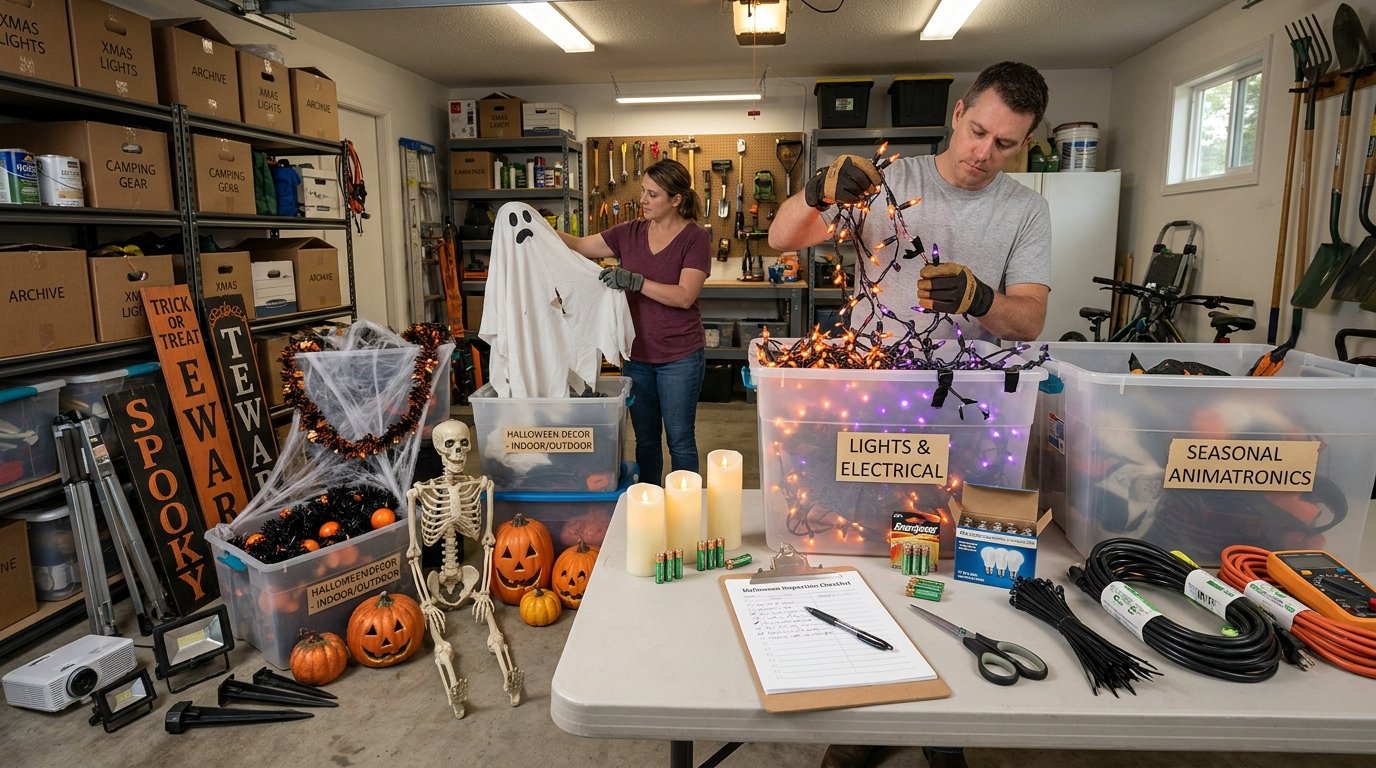
Before buying anything new, check what you already own.
Pull out your Halloween storage bins and make three piles:
- Keep and use
- Repair or clean
- Replace or donate
Check lights for damaged wires. Look over fabric decorations for stains or tears. Test electronic decorations before you need them.
Why wait until October 30 to discover that your favorite skeleton suddenly refuses to move?
You can also take a quick photo of everything in your storage bins. Next year, you’ll know exactly what you own before you buy another black table runner that looks suspiciously similar to the three you already have.
Clean Before You Decorate
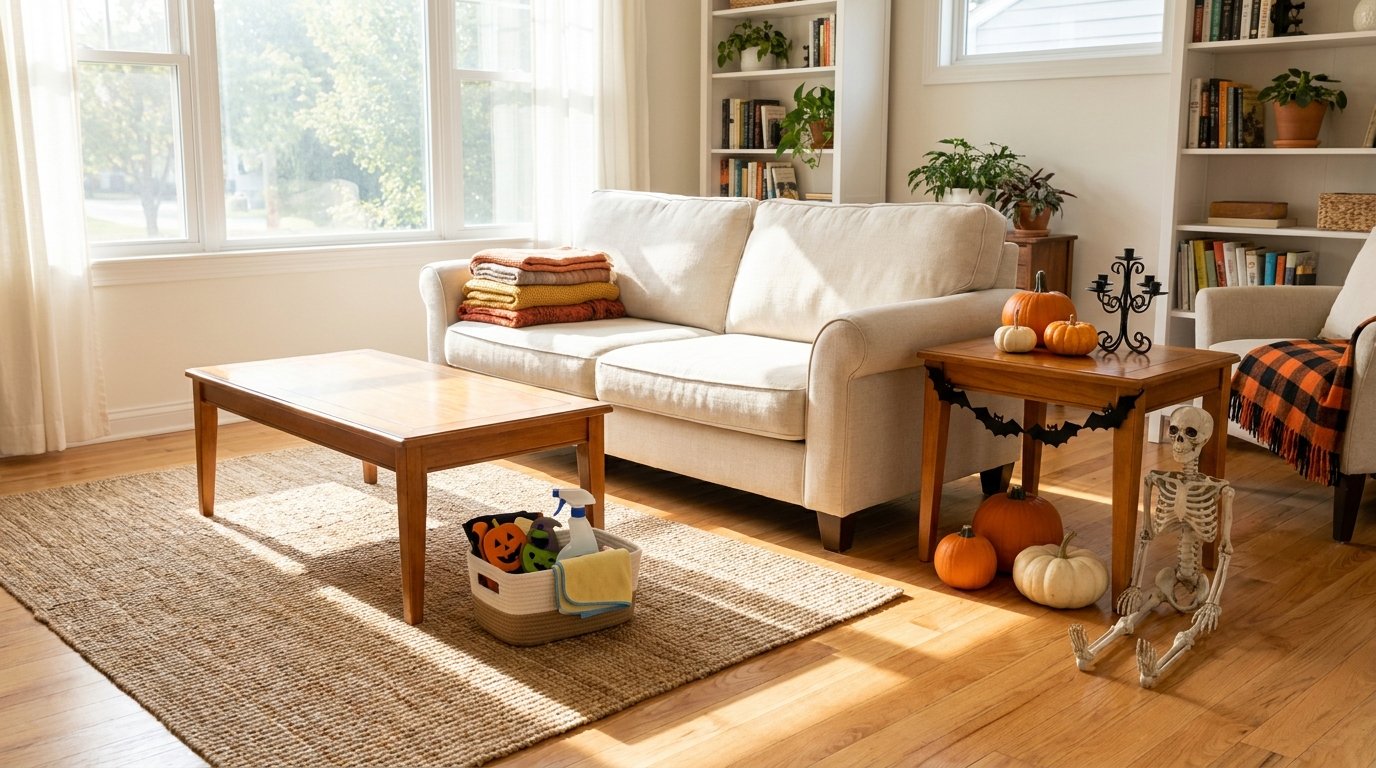
This step feels boring, but trust me, it matters.
Halloween decorations look much better when you place them in a clean, uncluttered space. You don’t need to deep-clean your entire house, either. Focus on the areas where decorations will actually go.
Clean the Front Porch
Sweep away leaves, dirt, cobwebs, and other outdoor debris.
Wipe down your front door and clean any outdoor furniture. If you use pumpkins or lanterns, clear enough space for them to sit securely.
A clean porch gives your decorations a better backdrop. Even a simple collection of pumpkins can look intentional when you remove the everyday clutter first.
Declutter Your Main Living Areas
Walk through your living room and look for surfaces that already feel crowded.
You probably don’t need your normal collection of candles, books, plants, picture frames, and random objects sitting beside Halloween decorations. Remove a few everyday items and create room for seasonal pieces.
Think of Halloween decorating as swapping rather than simply adding.
Replace a regular throw pillow with a Halloween pillow. Swap a neutral centerpiece for pumpkins. Replace a normal candle display with black candles or autumn-inspired pieces.
That approach keeps the room from feeling overwhelmed.
Check Your Halloween Decorations for Damage
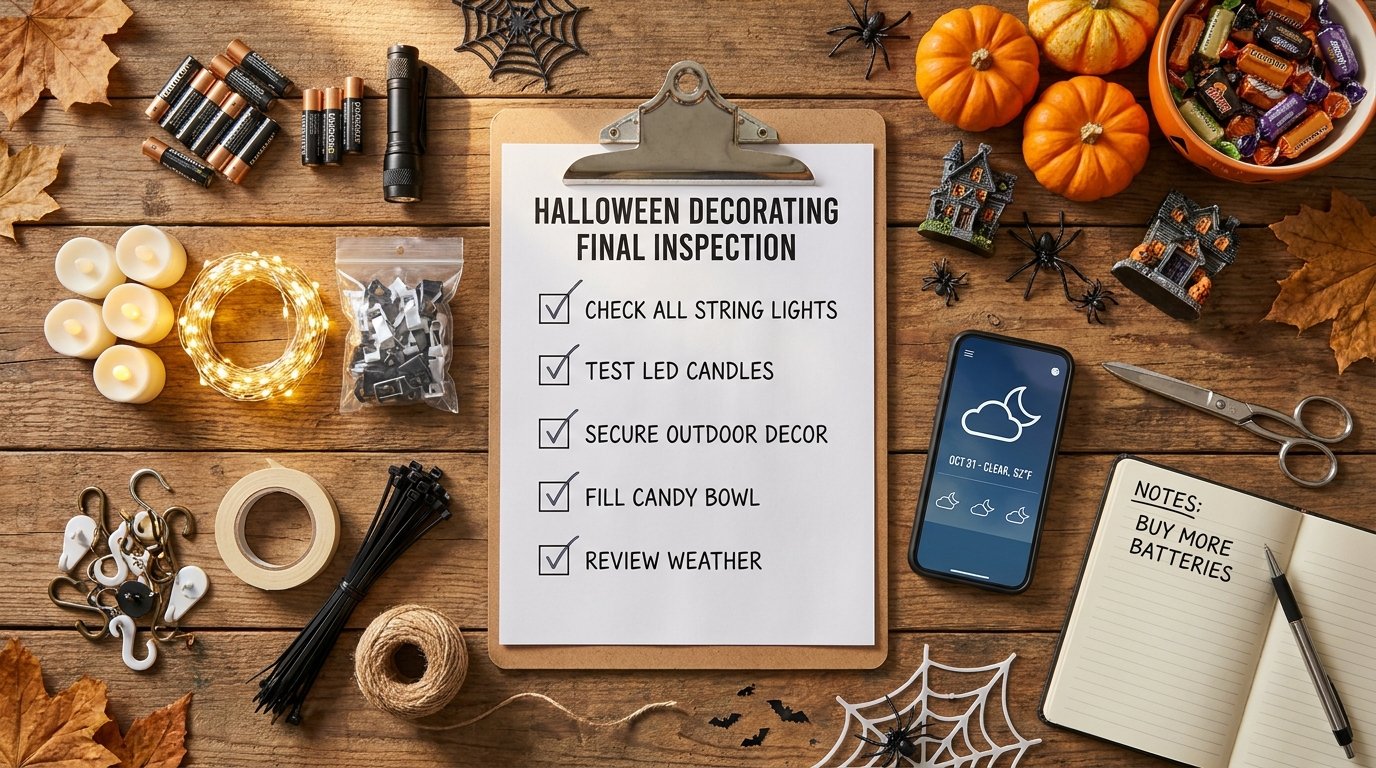
Once everything looks clean, inspect your decorations properly.
This step can save you from a very annoying October 30 emergency.
Look for:
- Broken lights
- Missing batteries
- Frayed cords
- Cracked plastic
- Loose decorations
- Torn fabric
- Missing hooks
- Deflated inflatables
- Rusted outdoor hardware
Test every electronic decoration before you put it outside.
Replace batteries early, especially in motion-activated decorations, candles, lanterns, and sound effects.
If you use outdoor extension cords, inspect them for damage and make sure they suit outdoor use. Keep electrical connections away from water and follow the manufacturer’s instructions.
Plan Your Front Porch Halloween Decor
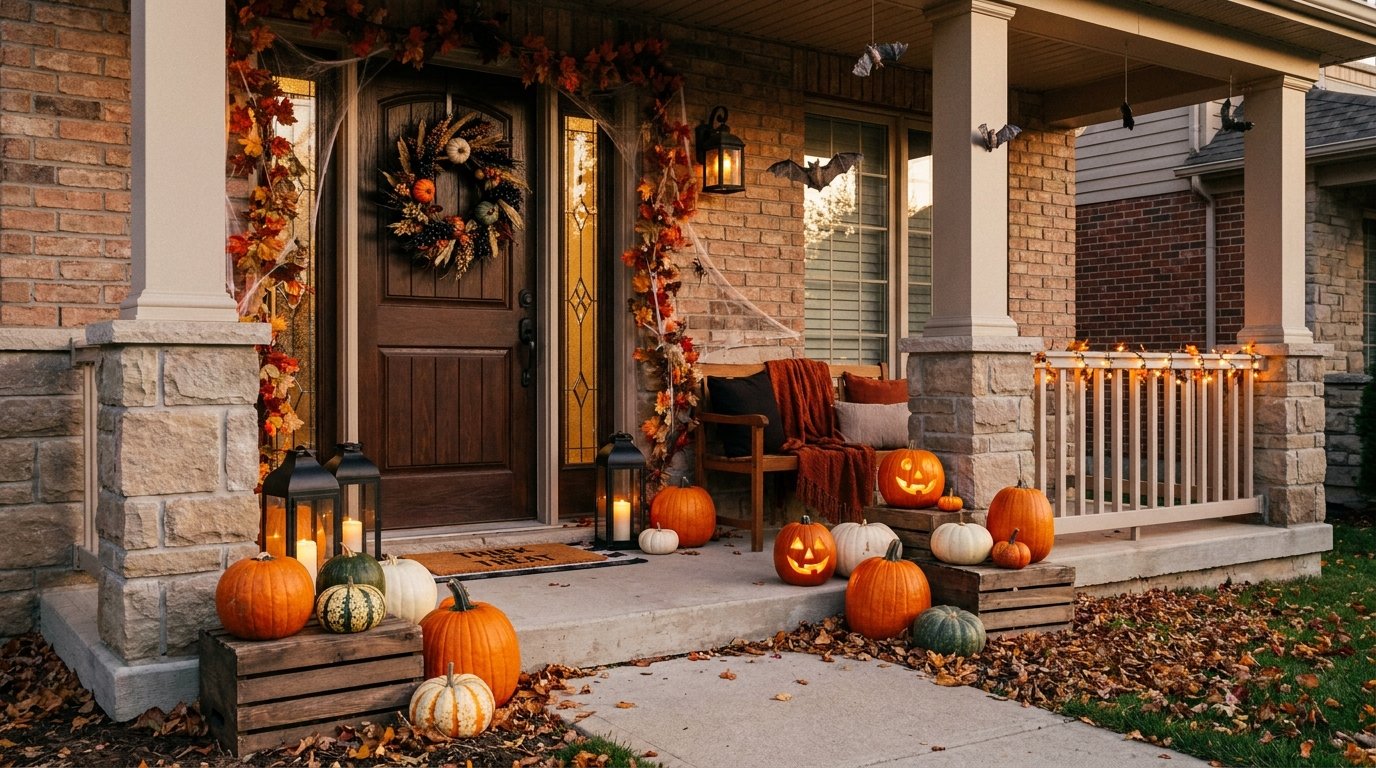
Your front porch deserves special attention because it creates the first impression for trick-or-treaters and guests.
You don’t need an enormous inflatable dragon to make your entrance feel spooky. A few carefully placed pieces can create plenty of atmosphere.
Start With the Door
The front door gives you one of the easiest decorating opportunities.
Try a:
- Halloween wreath
- Black ribbon
- Faux spider webs
- Hanging bats
- Skeleton decoration
- Seasonal sign
- Dark floral arrangement
You can also frame the door with pumpkins or lanterns.
Keep the doorway functional, though. Nobody wants to squeeze through a forest of fake spiders just to ring the doorbell.
Add Pumpkins at Different Heights
Instead of lining up identical pumpkins across the porch, create different heights.
Place larger pumpkins on the ground and smaller ones on steps, crates, or sturdy stands.
Mix shapes and colors for more visual interest. Orange pumpkins create a classic Halloween look, while white, green, or dark-colored pumpkins can create a more sophisticated arrangement.
You can also mix real pumpkins with faux pumpkins.
That combination gives you flexibility while reducing the pressure to keep everything perfect.
Decide Whether You Want Real or Faux Pumpkins
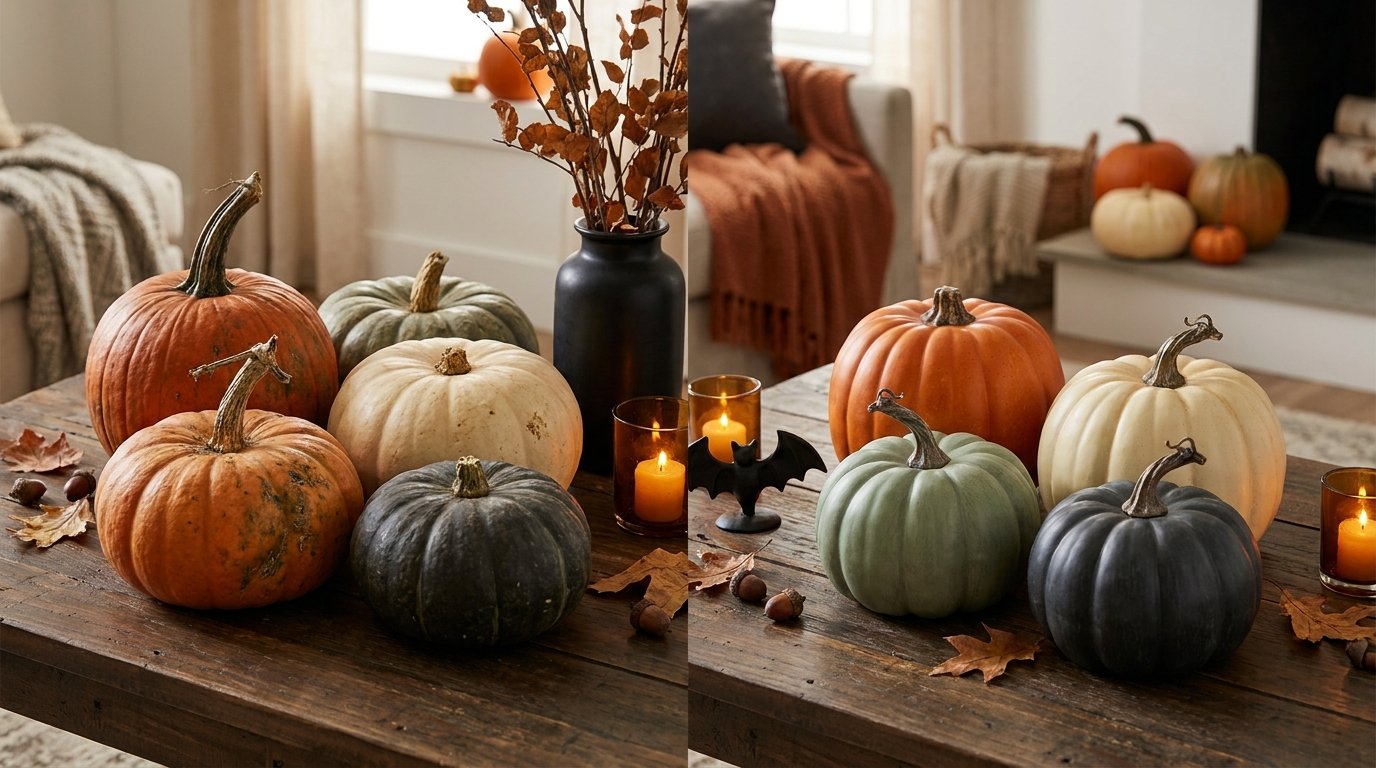
Both options have advantages.
Real pumpkins bring natural texture and instantly create a fall atmosphere. They also give you the option to carve traditional jack-o’-lanterns closer to Halloween.
Faux pumpkins last longer and work especially well for indoor decorating.
Here’s a quick comparison:
| Feature | Real Pumpkins | Faux Pumpkins |
| Natural appearance | Excellent | Very good |
| Durability | Limited | Excellent |
| Indoor use | Great | Great |
| Outdoor longevity | Depends on weather | Usually better |
| Carving | Yes | Usually no |
| Reusable | No | Yes |
| Storage | Easy before use | Easy after use |
If you want decorations you can reuse every year, faux pumpkins make sense. If you love the traditional Halloween experience, real pumpkins bring something that artificial versions simply can’t replicate.
Plan Your Halloween Lighting
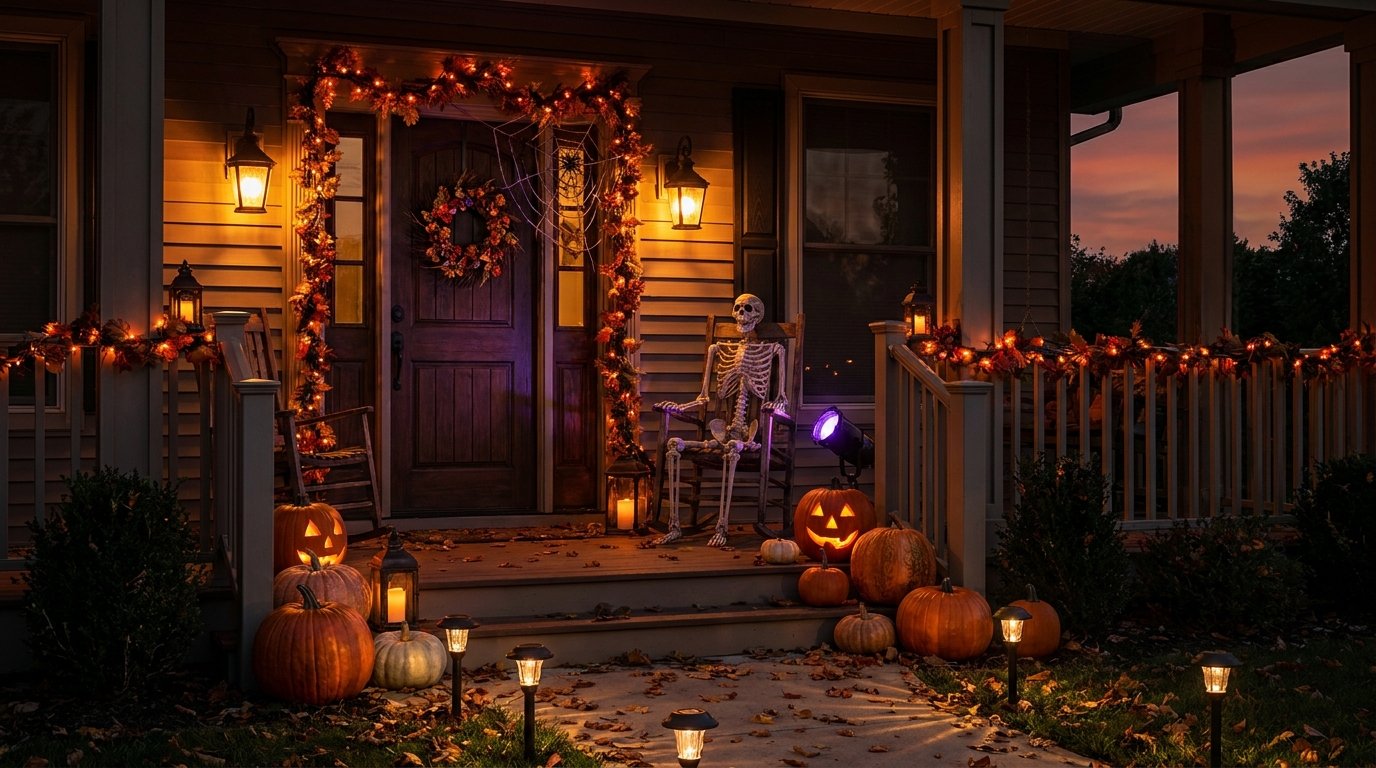
Lighting can completely change your Halloween decorations.
You could have the best skeletons, pumpkins, and spooky props in the neighborhood, but harsh white lighting can ruin the mood instantly.
Instead, think about warm, dim, and strategically placed lighting.
Use Different Types of Lighting
Consider adding:
- String lights
- Lanterns
- LED candles
- Battery-powered candles
- Spotlights
- Pathway lights
- Colored bulbs
Warm lighting creates a cozy autumn feeling. Red, purple, or orange lighting can create a more dramatic Halloween atmosphere.
You can also use lighting to highlight specific decorations.
Place a small spotlight near a large skeleton or tree. Aim a light toward your front door. Illuminate pumpkins from below.
Ever notice how a simple decoration looks completely different once you light it from underneath? That little trick can make even a basic plastic skull look surprisingly creepy.
Test Everything Before October 31
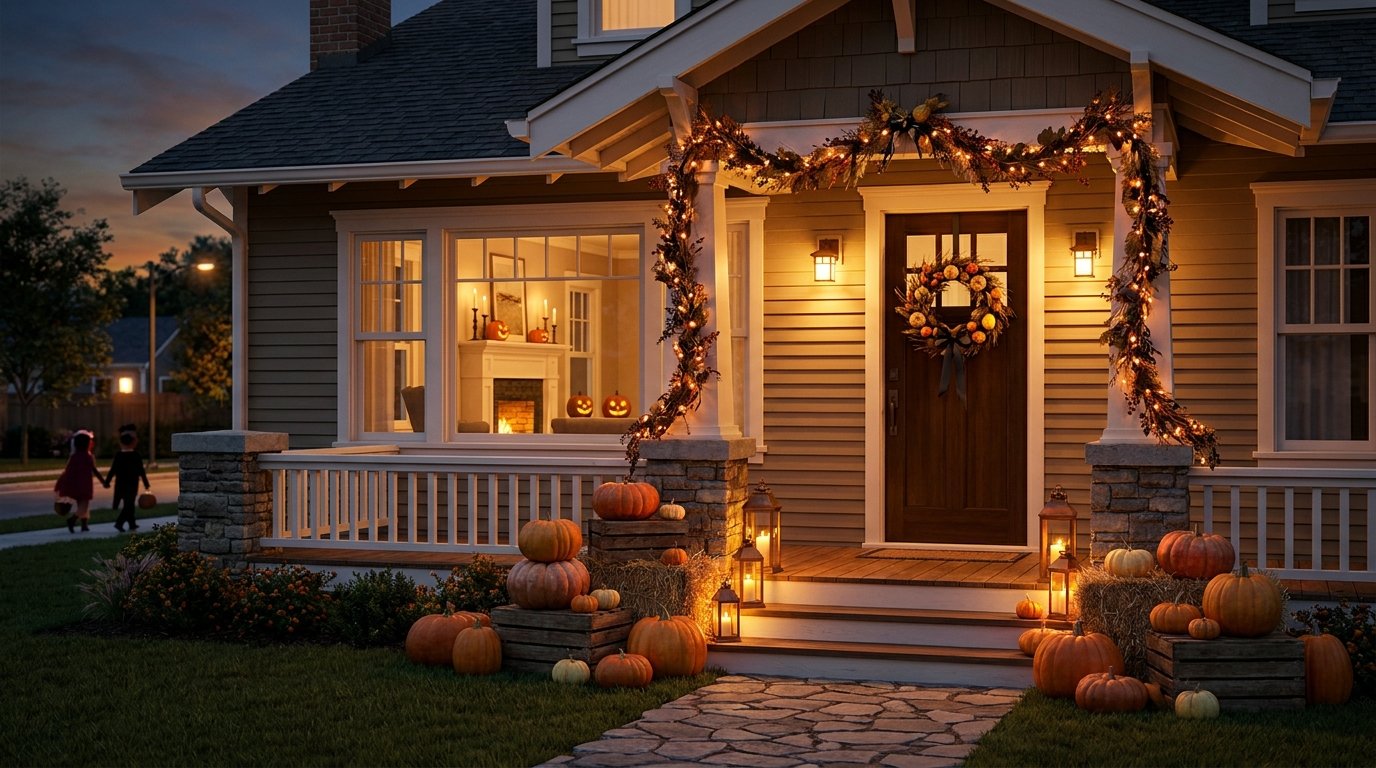
Don’t wait until Halloween night.
Turn on your lights after dark and walk outside.
Look at your decorations from the street. Check whether your lights actually highlight the decorations or simply illuminate the entire porch.
Testing your setup early gives you time to move things around.
Create a Halloween Entryway
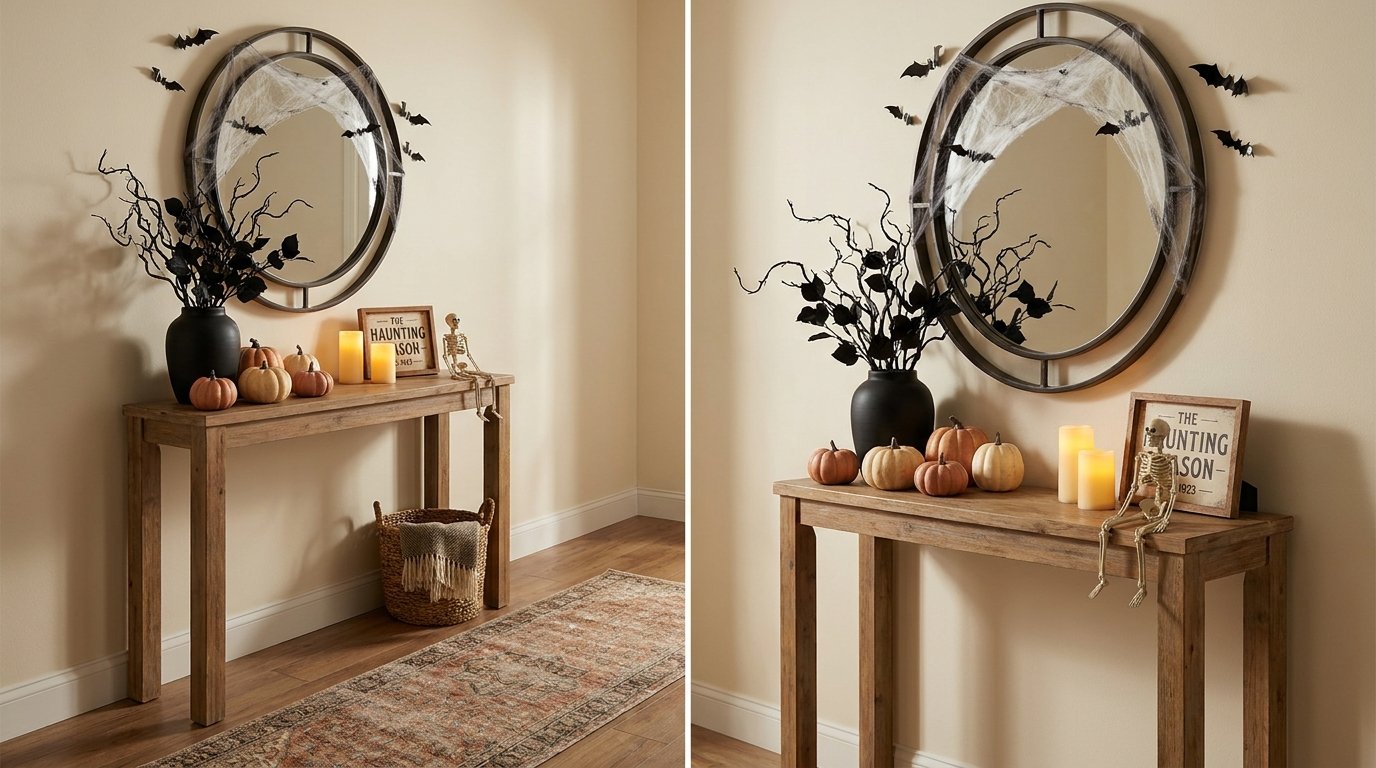
Your entryway can set the mood before anyone reaches the living room.
You don’t need much space.
Try adding a small table with:
- Mini pumpkins
- A black vase
- Faux branches
- A Halloween candle
- A small skeleton
- A seasonal sign
You can also hang paper bats or faux spider webs around a mirror.
If you have a narrow entryway, keep decorations off the floor. Wall-mounted decorations and small tabletop displays work much better in tight spaces.
Decorate the Living Room Without Going Overboard
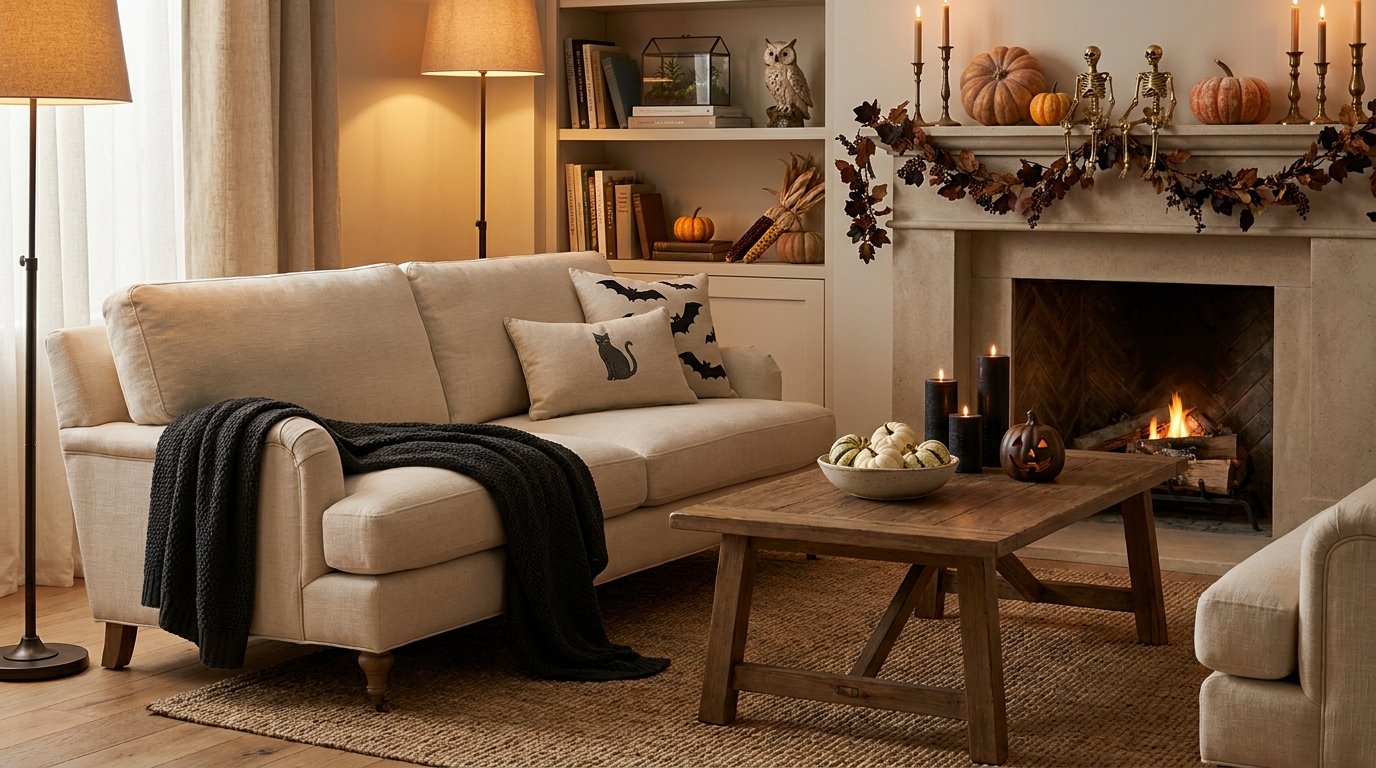
The living room usually acts as the main gathering space, so give it a few noticeable Halloween touches.
Start with your sofa.
Add Halloween-themed pillows or a seasonal throw blanket. You don’t need a dozen orange pumpkins sitting on every surface.
Instead, create a few focal points.
Use Your Existing Decor
Your normal home decor can actually help your Halloween decorations.
A dark wooden table can make pumpkins look richer. A neutral sofa gives black and orange accents more impact. A bookshelf can become a perfect place for small skeletons, candles, and Halloween artwork.
Don’t replace everything. Layer Halloween pieces into your existing decor.
This method also makes cleanup easier after Halloween.
Create a Halloween Focal Point
Pick one major area in the room.
That might include:
- A fireplace mantel
- A coffee table
- A TV console
- A bookshelf
- A large wall
Then build your Halloween decorations around that spot.
For example, you could create a mantel display using pumpkins, faux branches, black candles, small skulls, and a Halloween garland.
The rest of the room can stay relatively simple.
Give Your Dining Table a Halloween Makeover
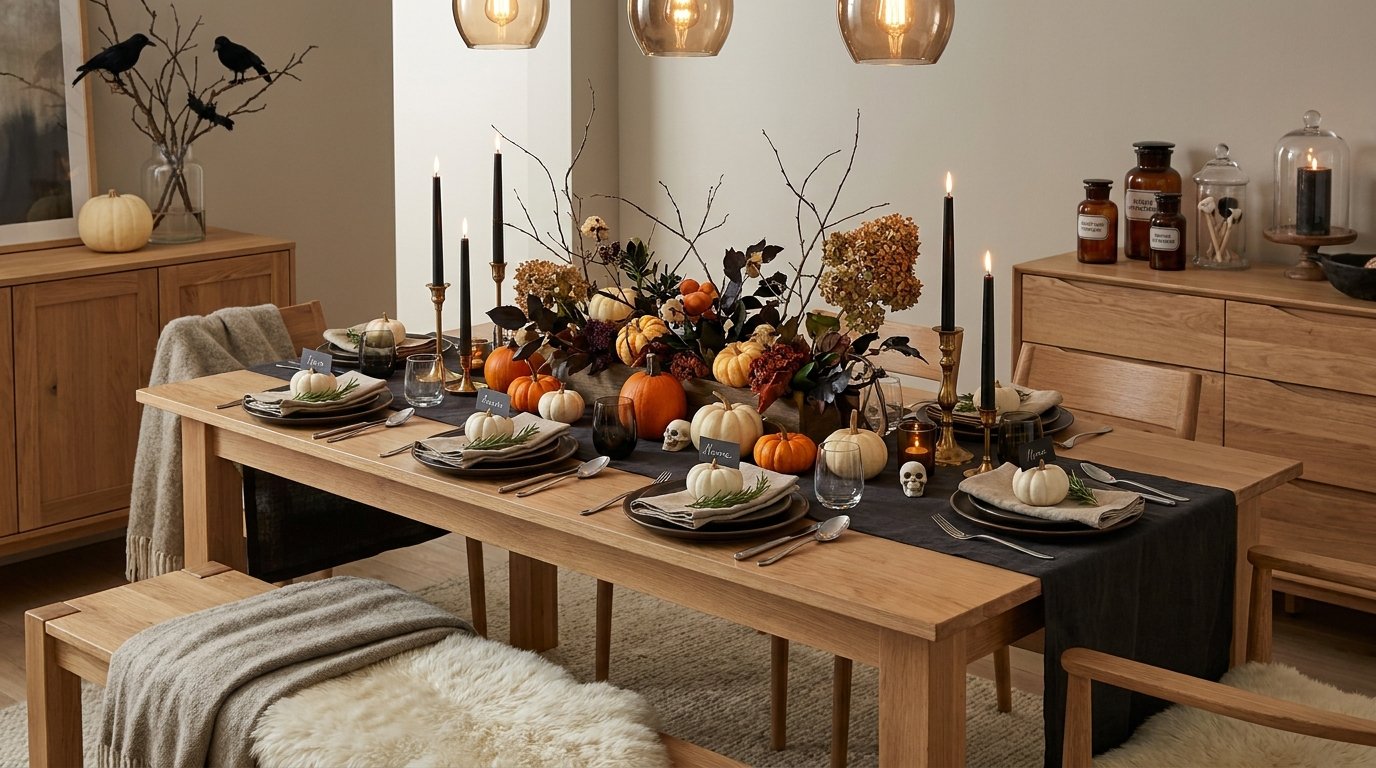
Your dining table offers another easy opportunity to add seasonal decor.
Start with a table runner or tablecloth. Then build a centerpiece.
You could use:
- Mini pumpkins
- Candles
- Dark flowers
- Faux leaves
- Small skulls
- Black candleholders
- Glass jars
- Seasonal branches
Keep the centerpiece low enough that people can actually see across the table.
Nobody wants to spend dinner leaning around a giant decorative witch hat just to make eye contact.
Add Simple Halloween Place Settings
If you’re hosting Halloween dinner, you can take the table one step further.
Use dark napkins, black plates, orange accents, or small pumpkins at each place setting.
You could even write guests’ names on miniature pumpkins.
These little details can make a regular dinner feel like an actual Halloween event without requiring a huge decorating budget.
Refresh Your Bathroom for Halloween
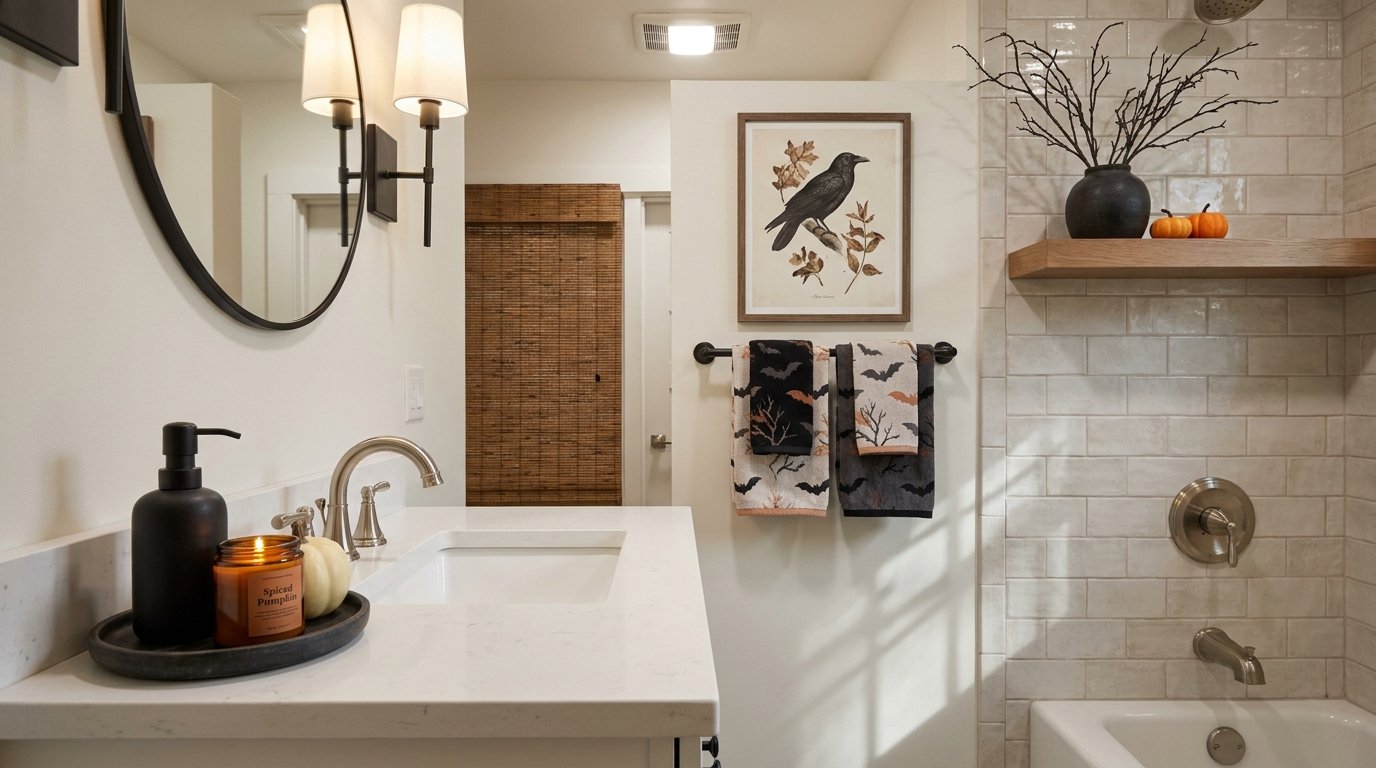
The bathroom often gets ignored during seasonal decorating, but it offers an easy place to add small spooky touches.
You don’t need much.
Try adding:
- Halloween hand towels
- A small seasonal candle
- A black soap dispenser
- A spooky print
- Mini pumpkins
- A small faux plant
- Halloween-themed artwork
Keep decorations practical and away from water sources.
A few small details can make the room feel connected to the rest of your Halloween decor without turning your bathroom into a haunted plumbing department.
Add Halloween Decor to the Kitchen
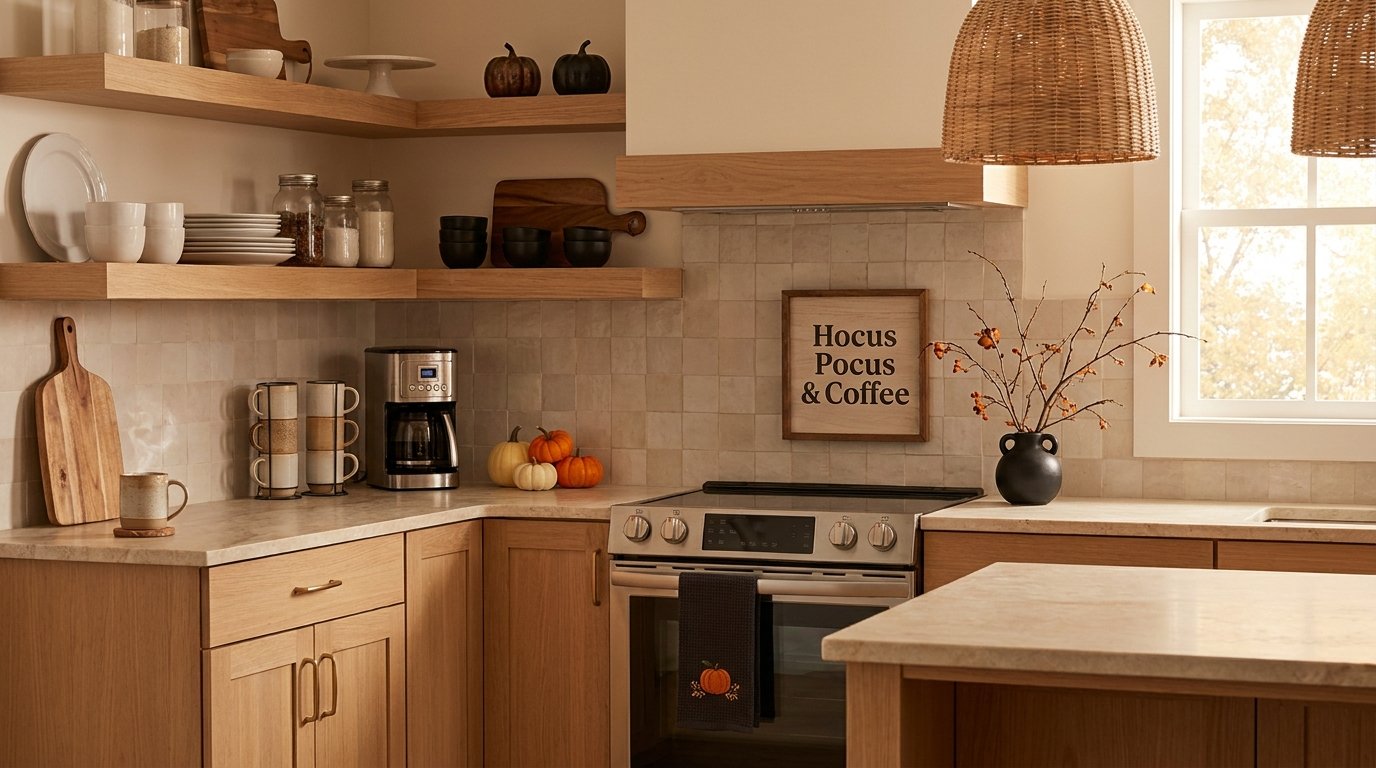
Your kitchen probably doesn’t need a full makeover.
Instead, focus on small surfaces.
Place mini pumpkins near the coffee station. Add a Halloween tea towel. Put a seasonal sign against the backsplash. Use a black or orange utensil holder.
You can also decorate open shelves with small Halloween pieces.
Keep food-preparation areas clear, especially if you plan to cook for guests.
Halloween decor should add atmosphere, not become another obstacle between you and the cookies.
Prepare Outdoor Decorations
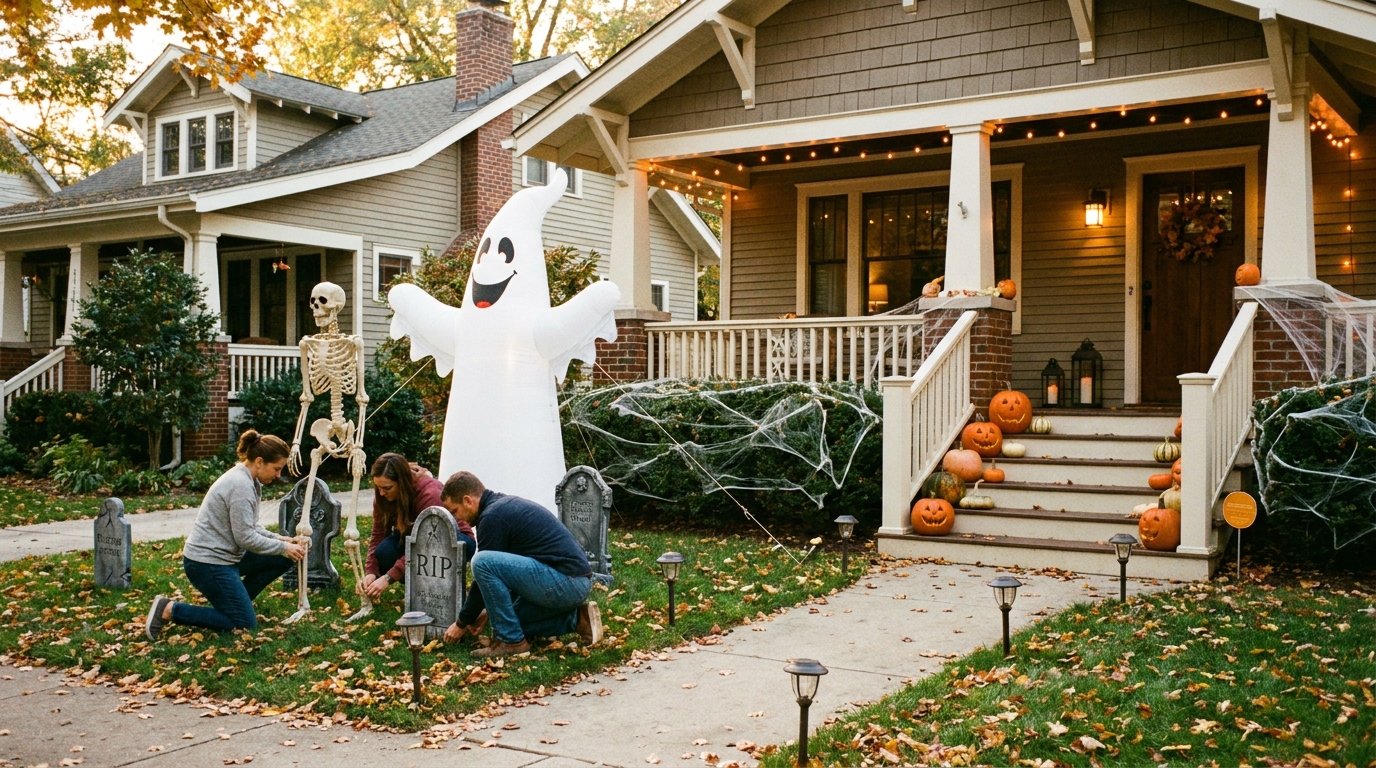
If you decorate your yard, start planning early.
Outdoor decorations often require more preparation than indoor pieces because you need to think about weather, placement, stability, lighting, and electrical connections.
Check the Weather
Look at the forecast as Halloween approaches.
Strong wind or heavy rain can cause problems for lightweight decorations. Secure outdoor pieces according to their manufacturer’s instructions.
For inflatable decorations, check the recommended setup requirements and make sure the blower and electrical connections stay protected from moisture.
Secure Everything Properly
Outdoor decorations should stay where you put them.
Use appropriate stakes, weights, clips, or other hardware designed for the decoration.
Pay special attention to:
- Large inflatables
- Hanging decorations
- Yard signs
- Tombstones
- Freestanding skeletons
- Light strings
A skeleton flying across the yard because of a gust of wind might sound funny in theory. In reality, your neighbor probably won’t appreciate the unexpected Halloween invasion.
Prepare Your Halloween Costumes and Props
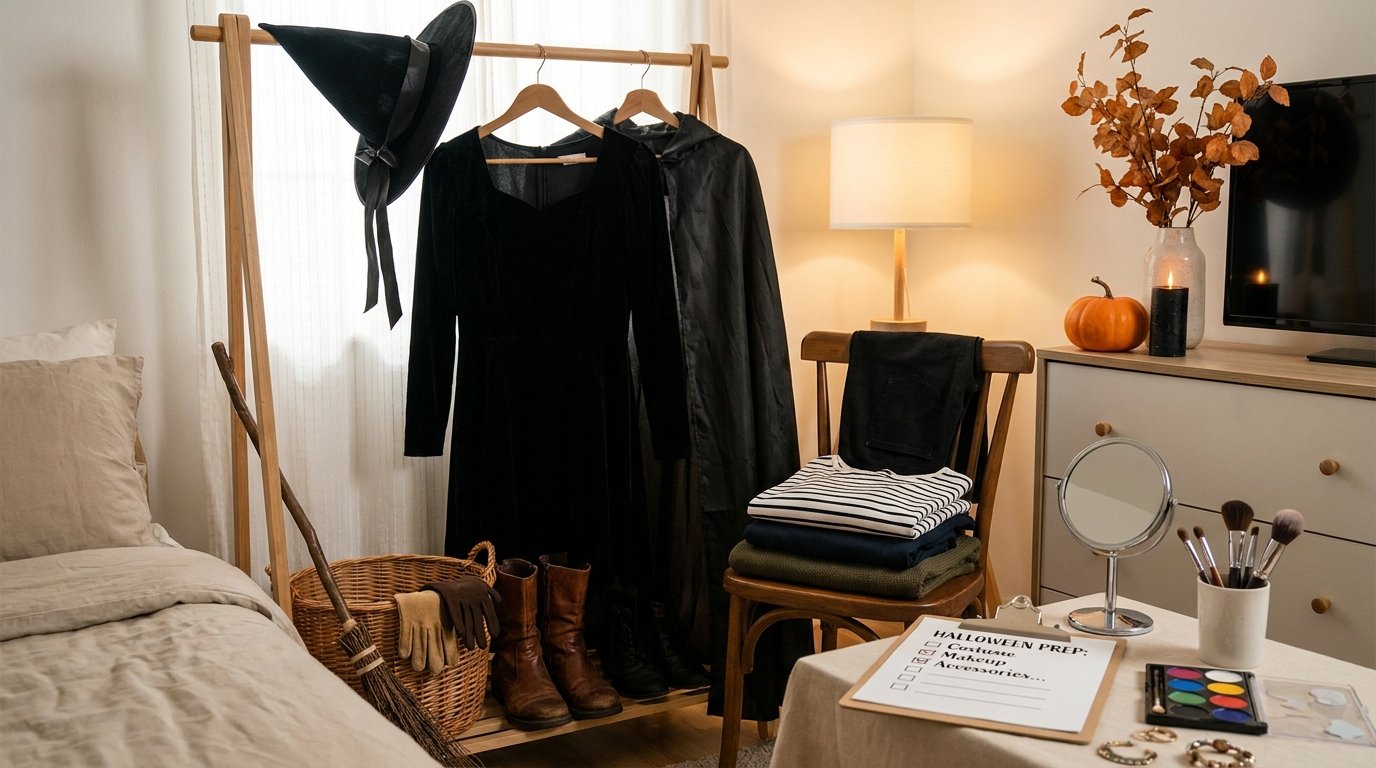
Your decorating checklist shouldn’t stop at the house.
If you plan to wear a costume, check it early.
Try everything on and make sure you have all the pieces.
Create a quick checklist:
- Costume
- Shoes
- Accessories
- Makeup
- Wig or hat
- Props
- Jacket or warm layer
- Backup option
If your costume requires makeup, practice it before Halloween night.
You don’t want your first attempt at dramatic zombie makeup to happen 20 minutes before guests arrive.
Stock Up on Halloween Essentials
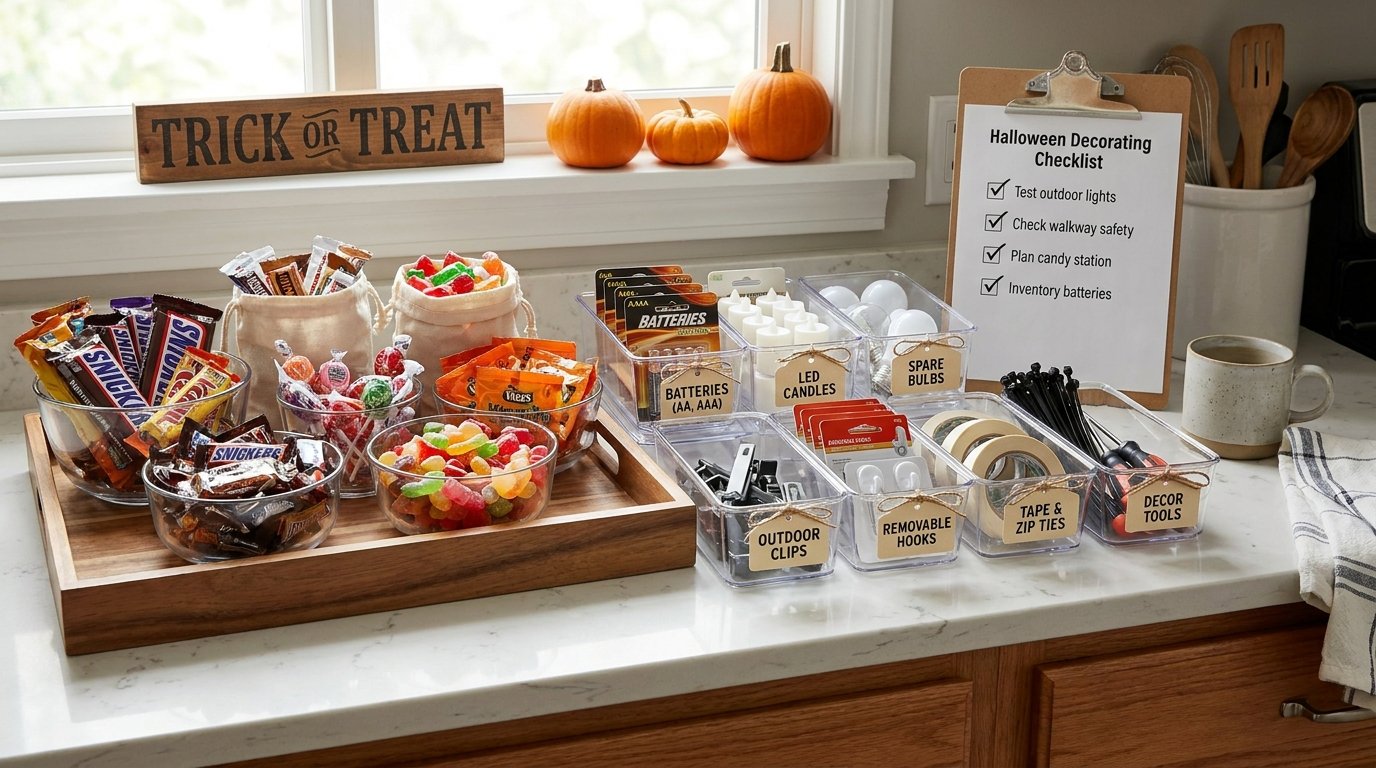
Halloween decorations aren’t the only thing you should prepare.
If you expect trick-or-treaters, buy candy early enough to avoid the dreaded empty-bowl situation.
Keep some extras stored away if you know you’ll eat half the supply before October 31. We’ve all seen that movie before.
Other useful items include:
- Extra batteries
- Light bulbs
- Extension cords
- Hooks
- Outdoor clips
- Command-style removable hanging products
- Trash bags
- Candles or LED candles
- Tape
- Zip ties
- Replacement decorations
FYI, small supplies often save the most time when something goes wrong.
Create a Halloween Decorating Timeline
You don’t need to decorate everything in one exhausting weekend.
Spread the work across October.
Early October
Focus on planning and preparation.
- Choose your decorating style
- Check storage bins
- Inspect decorations
- Buy missing supplies
- Clean key areas
- Plan outdoor displays
Mid-October
Start adding the main decorations.
- Decorate the living room
- Set up the entryway
- Decorate the porch
- Add seasonal lighting
- Prepare the dining area
One Week Before Halloween
Finish the details.
- Set up outdoor decorations
- Test lights
- Check costumes
- Buy candy
- Add smaller decorations
- Take photos and adjust anything that looks off
October 30
Do your final inspection.
Walk around the house and yard.
Turn on the lights. Check the decorations from outside. Look for loose wires, unstable decorations, empty batteries, or anything that needs fixing.
Then stop.
Seriously.
You don’t need to keep rearranging the same pumpkin for another three hours.
Make Safety Part of Your Checklist
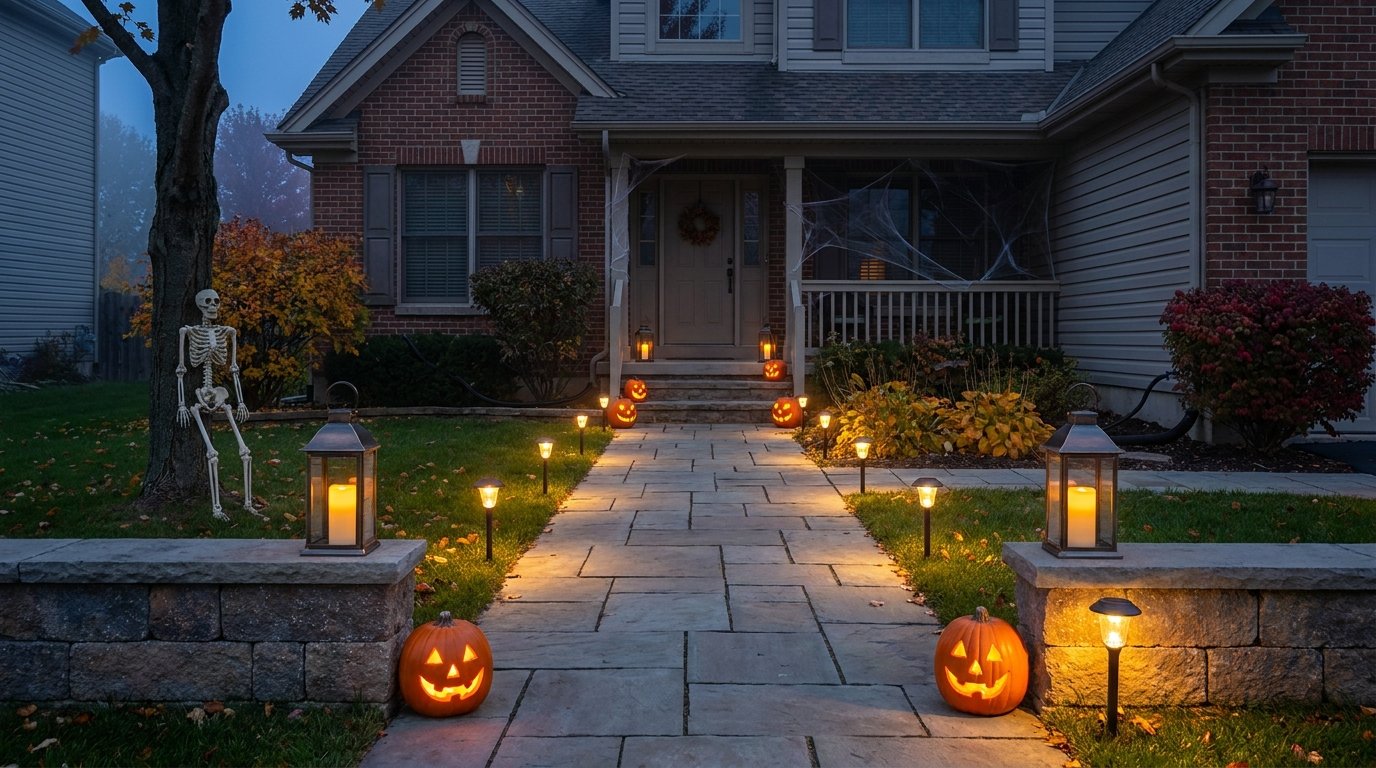
Halloween decorating should look great, but safety should come first.
Keep walkways clear and make sure guests can see steps, edges, and other potential trip hazards.
Avoid placing cords where people will walk. Keep candles away from curtains, paper decorations, and anything else that can catch fire.
LED candles provide a simple alternative to open flames, especially around children and busy walkways.
For outdoor decorations, use products and electrical equipment according to their instructions and keep connections protected from moisture.
Also check your decorations for sharp edges or small loose pieces if young children might visit.
A spooky atmosphere works much better when nobody ends the night with a trip to the emergency room.
Keep Your Halloween Decor From Looking Cluttered
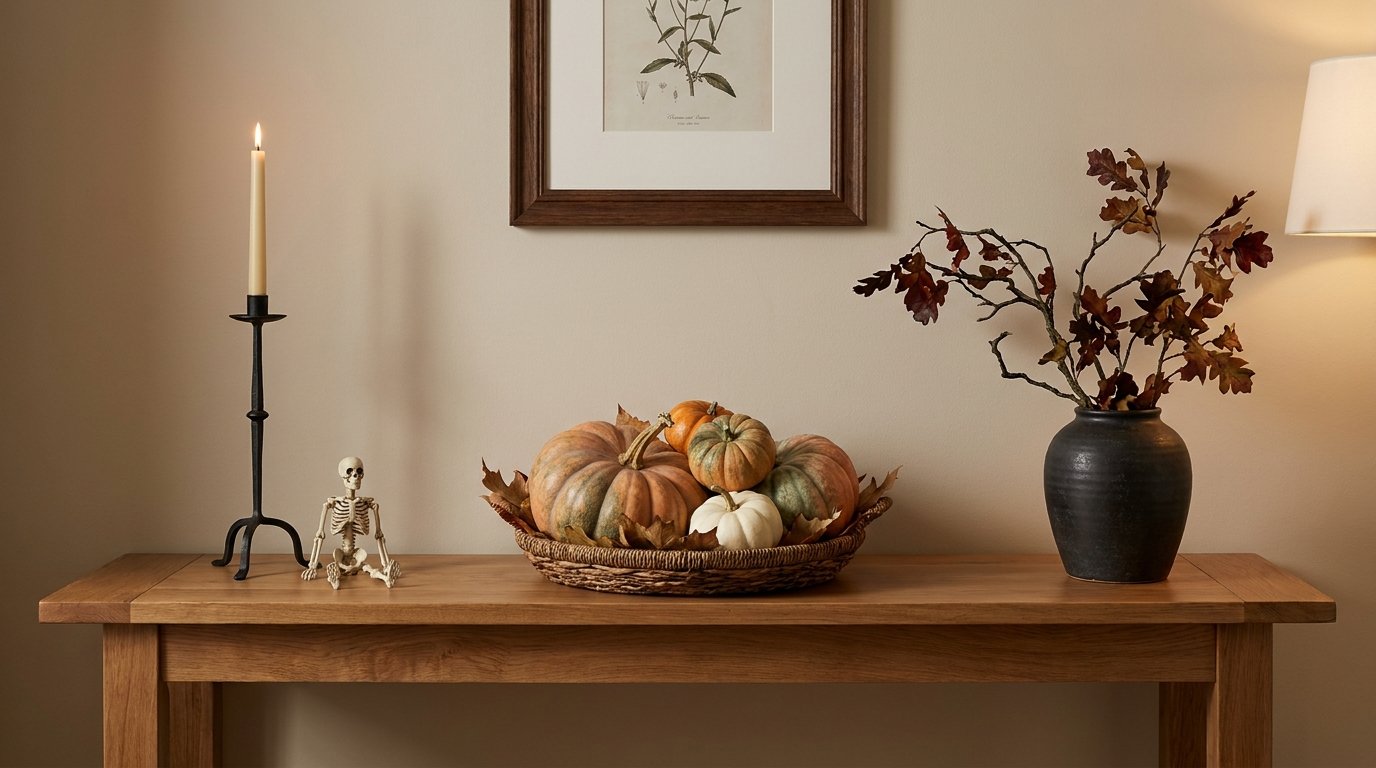
More decorations don’t automatically create a better Halloween display.
Sometimes the opposite happens.
If every shelf contains three pumpkins, two ghosts, a skull, four candles, and a miniature witch, your eye doesn’t know where to look.
Instead, create visual breathing room.
Use a few larger pieces and surround them with smaller accents.
You can follow a simple formula:
One statement piece + two or three supporting decorations + empty space.
That formula works especially well for mantels, console tables, coffee tables, and entryway surfaces.
Take Photos Before You Pack Everything Away
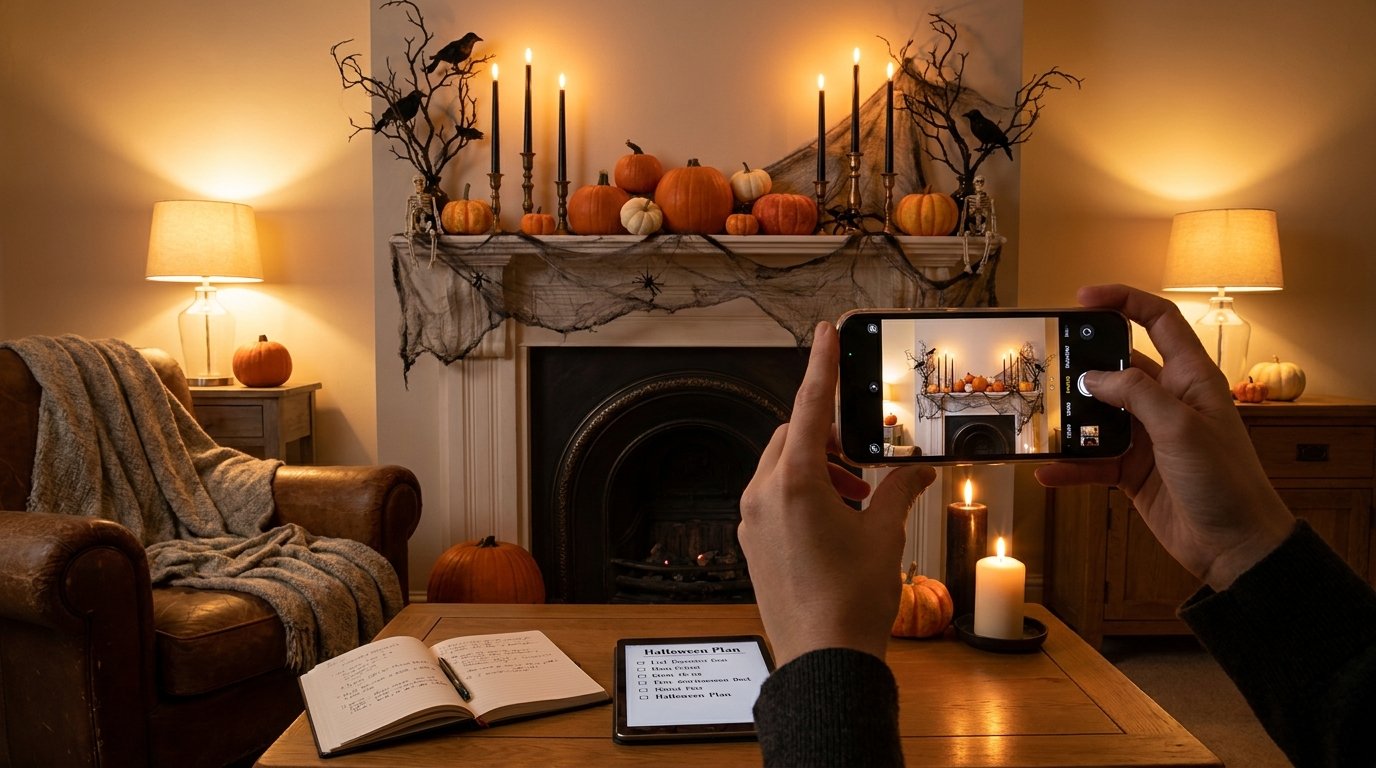
This sounds unnecessary until next Halloween arrives.
Take a few photos of your favorite displays once you finish decorating.
Photos can help you remember:
- Where you placed decorations
- Which combinations looked good
- How you arranged your porch
- Where you ran lights
- Which decorations you actually used
You can also create a quick Halloween decorating album on your phone.
Next year, you’ll have a ready-made reference instead of trying to remember how you created that one corner that looked surprisingly good.
Your Final Halloween Decorating Checklist
Before October 31 arrives, run through this list.
Home Preparation
- Clean the areas you plan to decorate
- Declutter surfaces
- Choose your Halloween decorating style
- Pick a color palette
- Decide which rooms need decorations
Decoration Preparation
- Check all storage bins
- Inspect decorations for damage
- Test electronic decorations
- Replace batteries
- Repair or replace damaged pieces
- Gather hooks, clips, tape, and other supplies
Indoor Decorating
- Decorate the entryway
- Add living room decorations
- Style the mantel or main focal point
- Decorate the dining table
- Add small bathroom touches
- Add seasonal kitchen accents
Outdoor Decorating
- Clean the porch
- Arrange pumpkins
- Hang the wreath
- Set up outdoor decorations
- Secure larger pieces
- Install outdoor lighting
- Check cords and connections
- Test everything after dark
Halloween Night Preparation
- Buy candy
- Prepare costumes
- Check the weather
- Test all lights
- Clear walkways
- Remove trip hazards
- Prepare extra batteries
- Do one final walk-through
Final Thoughts
A good Halloween decorating setup doesn’t require weeks of work or a garage full of expensive decorations.
Start by making a plan. Clean your spaces, inspect what you already own, choose a consistent style, and build your decorations around a few strong focal points.
Then handle the practical stuff before Halloween night arrives. Test your lights, secure outdoor decorations, clear walkways, prepare your costume, and stock up on candy.
Most importantly, give yourself enough time to actually enjoy the process.
Halloween should feel fun, not like a deadline you forgot about until October 30 at 11:47 PM.
So start early, put on your favorite spooky playlist, and give those pumpkins their moment. Your future October 31 self will thank you. 🙂