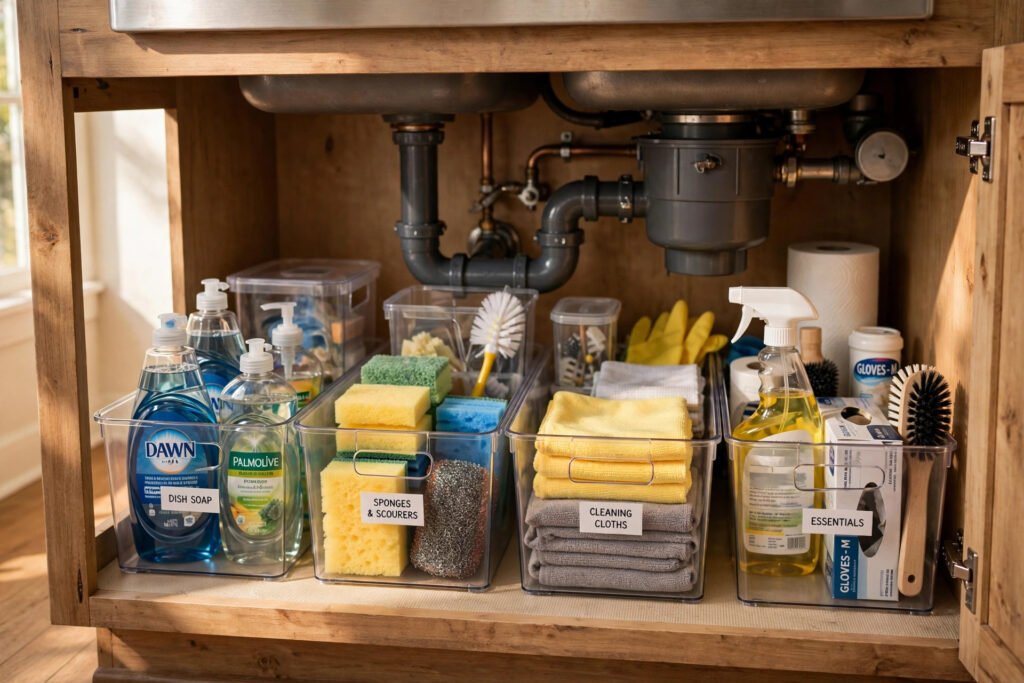
- How often should I reorganize under the kitchen sink?
You should not need a full reorganization more than once or twice a year. Instead, do a five-minute monthly reset: toss empties, wipe surfaces, check for dampness, and put strays back in their zones. Small, regular upkeep beats occasional big overhauls.
- What is the cheapest way to organize under the kitchen sink?
Decluttering costs nothing and is half the battle. After that, a tension rod, a waterproof liner, and a couple of dollar-store bins will transform the space for very little. You do not need a full organizer set to get 80 percent of the result.
- How do I stop the cabinet from smelling musty?
Musty smells usually mean moisture. Check for leaks first, then make sure the cabinet can breathe — do not pack it airtight. A waterproof liner, an open box of baking soda, and tossing damp sponges regularly keep it fresh. Store the sponge in a small ventilated caddy instead of leaving it sitting in a puddle — that one change alone eliminates most under-sink odors. If the smell persists after all that, there may be a slow leak worth investigating.
- How can I organize under the sink if I am renting?
Stick to no-drill solutions: tension rods for hanging spray bottles, adhesive hooks and bins on the doors, freestanding stackable drawers, and clear bins. Everything comes with you when you move, and nothing touches your deposit.
- What should you not store under the kitchen sink?
Keep out food (including pet food), paper products, and electronics — the cabinet can get damp, which ruins all three. Also store harsh chemicals up high or in a latched container if you have kids or pets. Cleaning supplies, dish soap, sponges, trash bags, and gloves are the ideal residents.
- How do you organize under a kitchen sink with a garbage disposal?
Use modular, adjustable organizers rather than one rigid unit. Place stackable drawers or small bins on either side of the disposal, use an expandable shelf with removable panels to fit around it, and hang spray bottles from a tension rod mounted above the pipes. Measure the disposal's footprint first so you buy storage that fits around it. If the disposal is large, consider using just one side of the cabinet for storage and leaving the other side mostly clear — cramming organizers against it makes everything hard to reach.
How to Organize Under Your Kitchen Sink Without Wasting Space
Step 1: Empty Everything and Start Honest
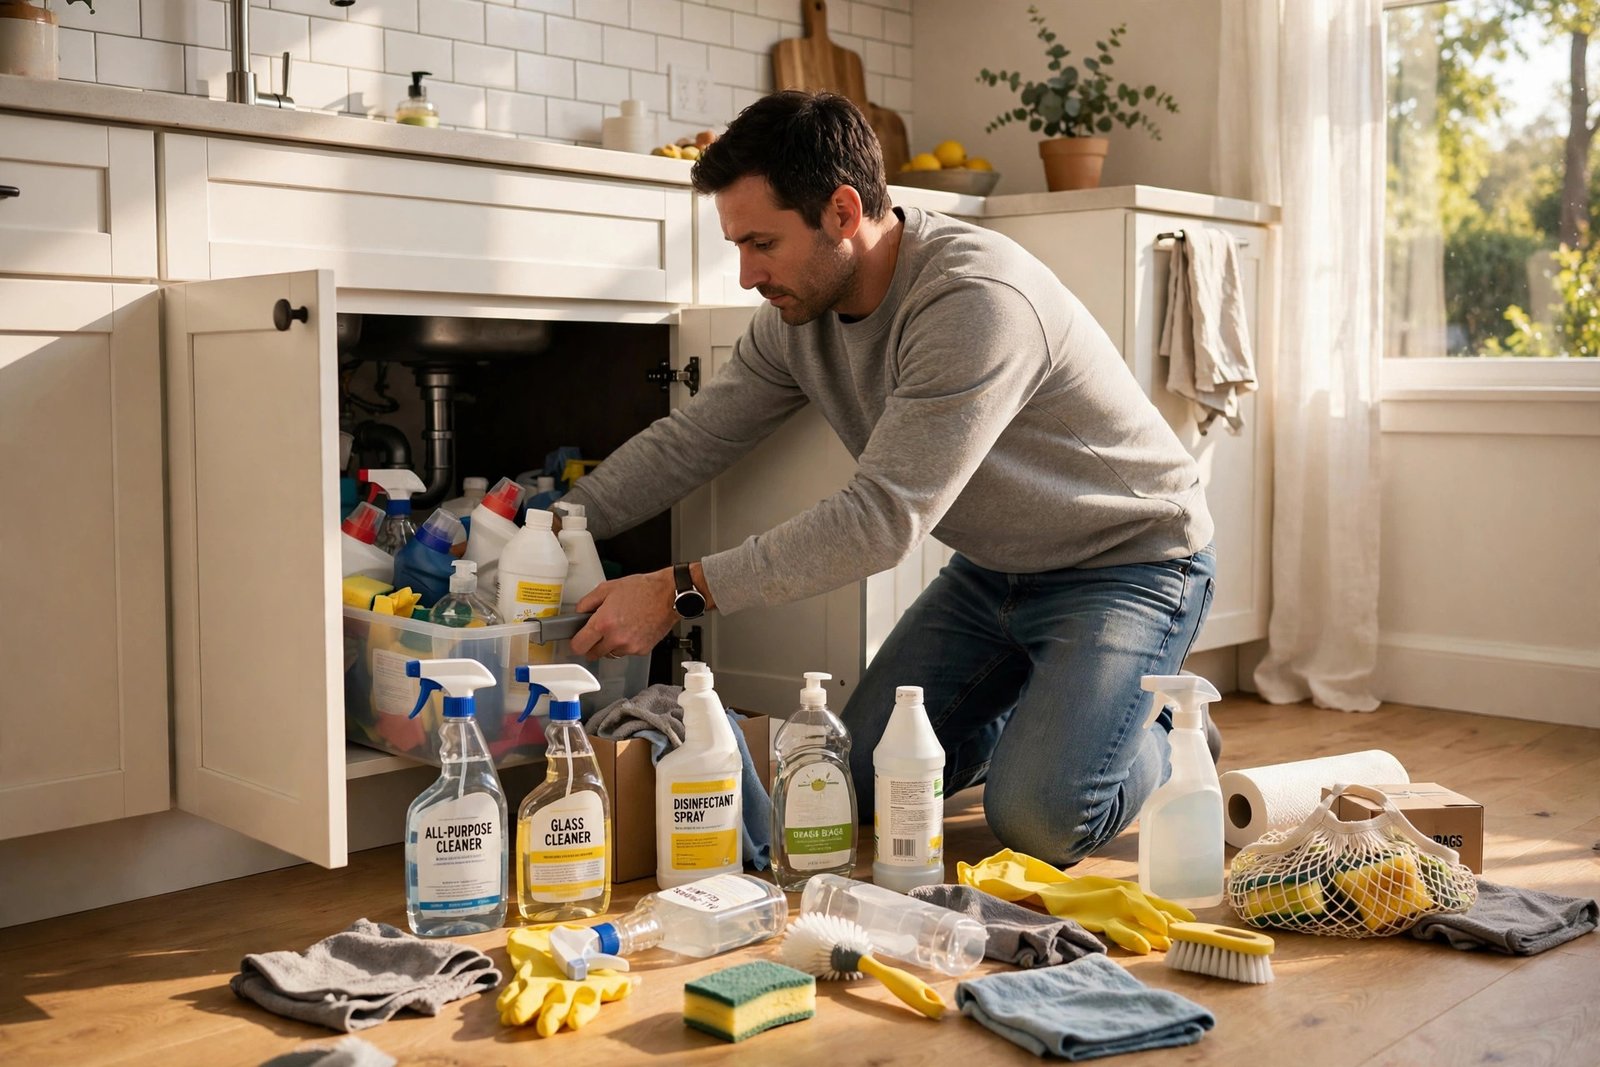
Be honest — when was the last time you opened the cabinet under your kitchen sink without flinching a little? If yours looks like mine did last spring, it is a dark cave of half-empty spray bottles, mystery sponges, and a trash bag roll you bought in 2022. I have reorganized mine three times now, and I finally learned the truth: you cannot organize clutter. You can only organize what is left after the clutter is gone.
So yes, the first step is the annoying one. Pull every single thing out from under that sink and put it on the kitchen floor. Everything. Do not “sort as you go” — that is how you end up putting 80 percent of it right back where it was. Ever wondered why organizing projects fail? This is why. We skip the purge and go straight to buying cute bins.
Now sort it all into four piles: trash (expired, broken, dried-up), relocate (things that do not belong under a sink at all — more on that in Step 3), donate or give away (duplicates in good shape), and keep. Be ruthless with the keep pile. If you have four half-used bottles of the same all-purpose cleaner, keep one and recycle the rest. IMO, duplicates are the silent killer of under-sink space. 🙂
In this guide, I am walking you through the exact three-step process I use: empty and prep, measure and plan around the pipes, then zone and maintain. No expensive systems, no contractor required — just smart decisions in the right order. Follow the sequence and that cabinet will hold more, look better, and stay that way.
Clean and protect the empty cabinet
Here is the part everyone skips, and it is the part future-you will thank you for. With the cabinet empty, wipe down every surface — walls, floor, the backs of the doors. Under-sink cabinets collect a special kind of grime: dried soap drips, dust, and the occasional sticky mystery spot.
Then protect it. Lay down a waterproof cabinet liner or a washable mat on the floor of the cabinet. This is not decoration — it is insurance. One slow leak from a supply line can quietly warp the cabinet floor for months before you notice. A five-dollar liner turns that disaster into a wipe-and-done moment. While you are at it, check the pipes and connections for any dampness. If you spot moisture, fix the leak before you organize a single thing. Organizing around an active leak is like rearranging deck chairs — satisfying for a day, pointless by Friday.
While the cabinet sits empty, take a phone photo of the bare interior with the pipes visible. Keep it on your phone for the next step — when you are shopping for organizers or browsing online, that photo is worth more than measurements scribbled on a sticky note. You will instantly see whether a product can work around your specific plumbing.
One more rule that keeps the keep pile honest: from now on, for every new cleaning product that enters this cabinet, one leaves. It sounds strict, but un
Step 2: Measure Twice, Buy Once (Yes, the Pipes Matter)
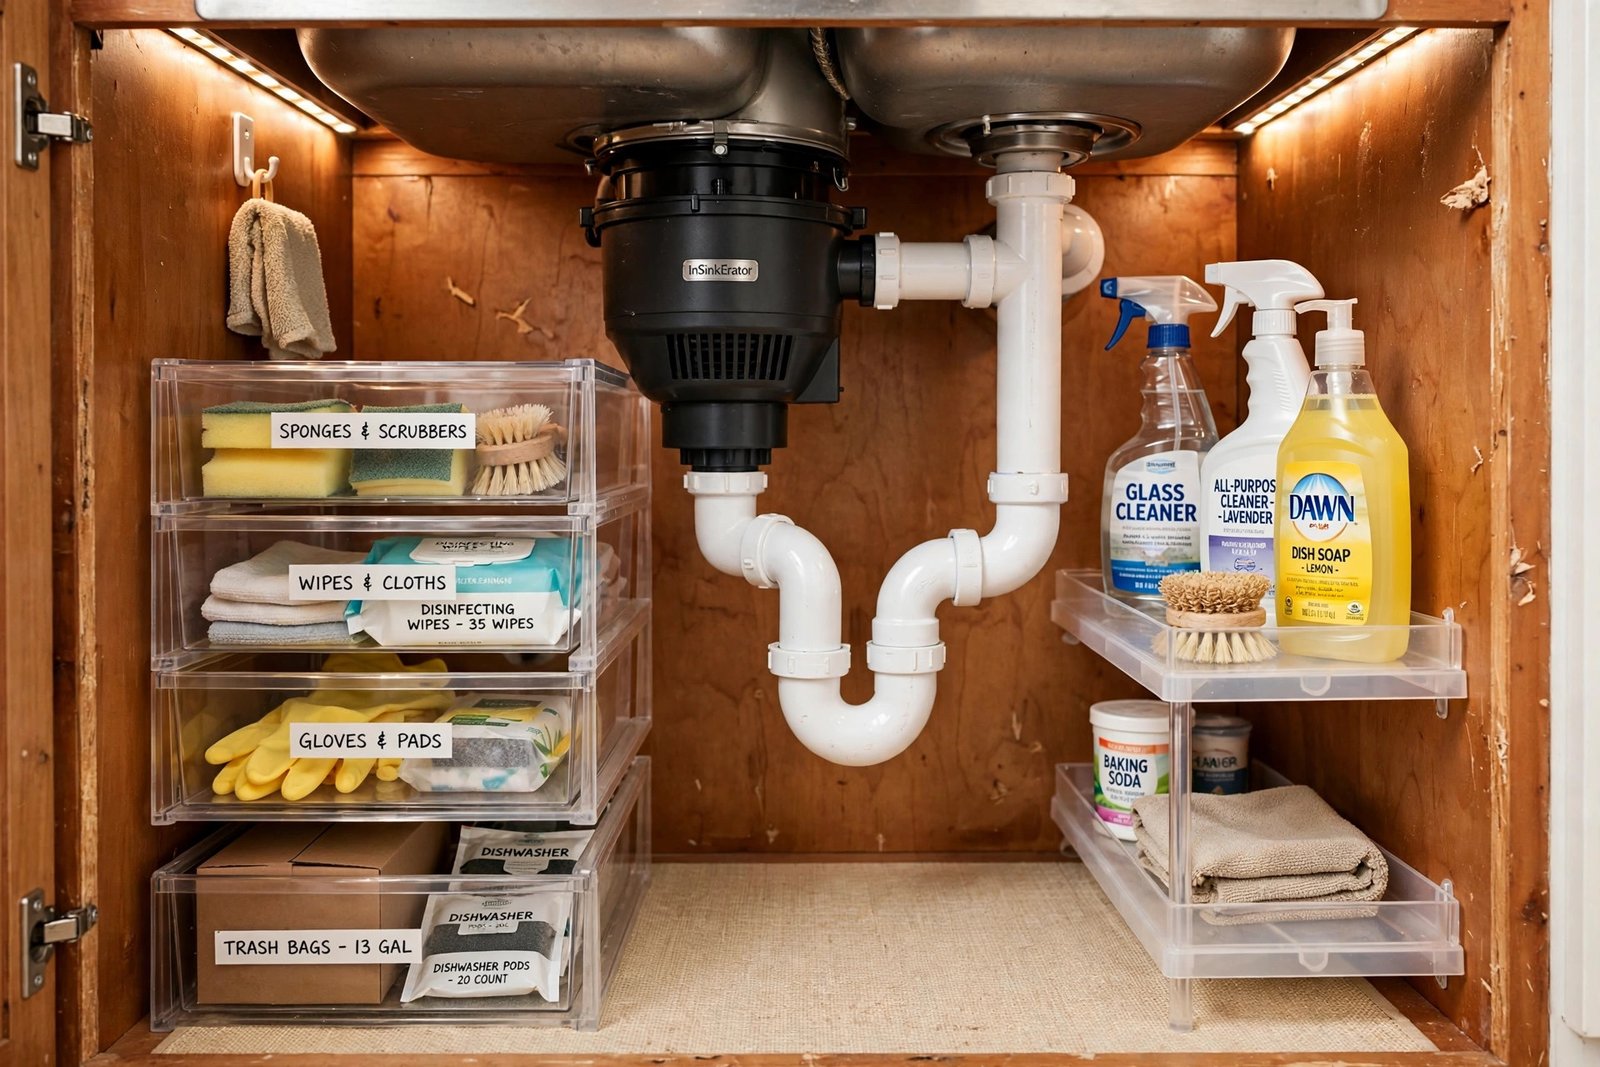
Here is where most under kitchen sink organization attempts go wrong: people buy organizers first and measure second. Then the beautiful tiered shelf they ordered arrives, and — surprise — the garbage disposal eats half the space and the P-trap sits exactly where the shelf wants to be. I know this because I did exactly this. Twice. Learn from my stubbornness.
Grab a tape measure and note three numbers: the width, height, and depth of the cabinet interior. Then map the obstacles: the drain pipes, the disposal (if you have one), the water supply lines, and how far the doors swing. A genuinely useful trick: stick painter’s tape on the cabinet floor to outline where the pipes run. Now you can “test fit” organizers mentally before spending a cent.
Save the three numbers on your phone, and photograph the taped outline too. When you shop, you are looking for three things: adjustable width (to dodge the disposal), low-profile height (so the doors still close), and depth that leaves the door swing clear. Hold that photo next to a product in the store and the “will it fit” question answers itself in seconds.
FYI, the single best purchase for this space is almost always something adjustable or modular — expandable shelves, stackable drawers, or a two-tier organizer with removable panels. Rigid one-piece units and under-sink cabinets are natural enemies. Measure the obstacles, then buy storage that bends around them instead of fighting them.
Renter-friendly wins (no drilling, no damage)
Renting? You can still win this. A tension rod mounted high across the cabinet — above the pipes — instantly creates a hanging rail for spray bottles (just hook their triggers over the rod). It costs a few dollars, installs in seconds, and leaves zero marks. Adhesive hooks on the inside of the doors hold brushes and gloves. Small adhesive-mounted bins work for sponges. None of this touches your deposit, and all of it comes with you when you move.
Another renter gem: over-door baskets that simply hook over the top of the cabinet door — no adhesive, no screws, no holes. They are made for standard-depth cabinet doors, so check yours first, but they add a whole extra shelf of storage in about ten seconds. When your lease ends, they lift straight off.
Go vertical — the air up there is free
The biggest wasted resource under a kitchen sink is vertical space. Most people use only the bottom six inches and leave a foot of air above it doing nothing. Stackable drawers, tiered shelves, and two-level wire baskets convert that dead air into storage. Put daily items (dish soap, sponge) at the front and bottom where your hand lands naturally, and lesser-used things (extra trash bags, backup sponges) up top or in back.
A good rule for what goes where: daily items at the front at hand height, weekly items behind or above them, and rarely-touched backups in the very back. You should be able to grab the dish soap without moving anything else. If you have to shuffle three bins to reach the sponge, the layout is wrong — rearrange until the daily grab is effortless. This one principle does more for long-term tidiness than any product you can buy.
Do not forget the doors
The insides of the cabinet doors are prime real estate. Over-door or adhesive door caddies hold the things you grab constantly — dish soap, hand soap, a scrub brush — right at your fingertips. Just check the clearance first: close the doors slowly after installing to make sure nothing collides with the pipes or shelves inside.
Light it up (the trick nobody mentions)
Can we talk about how dark it is under there? Half the reason the space becomes a pit of despair is that you literally cannot see what is inside. A battery-powered stick-on LED light (motion-sensor ones are best) costs very little and changes the experience completely. When you can actually see your supplies, you stop buying duplicates of things you already own. I consider this the highest-ROI upgrade in the entire project.